
Hey there! Some links on this page may be affiliate links which means that, if you choose to make a purchase, I may earn a commission at no extra cost to you. I greatly appreciate your support. Read the full disclosure here.
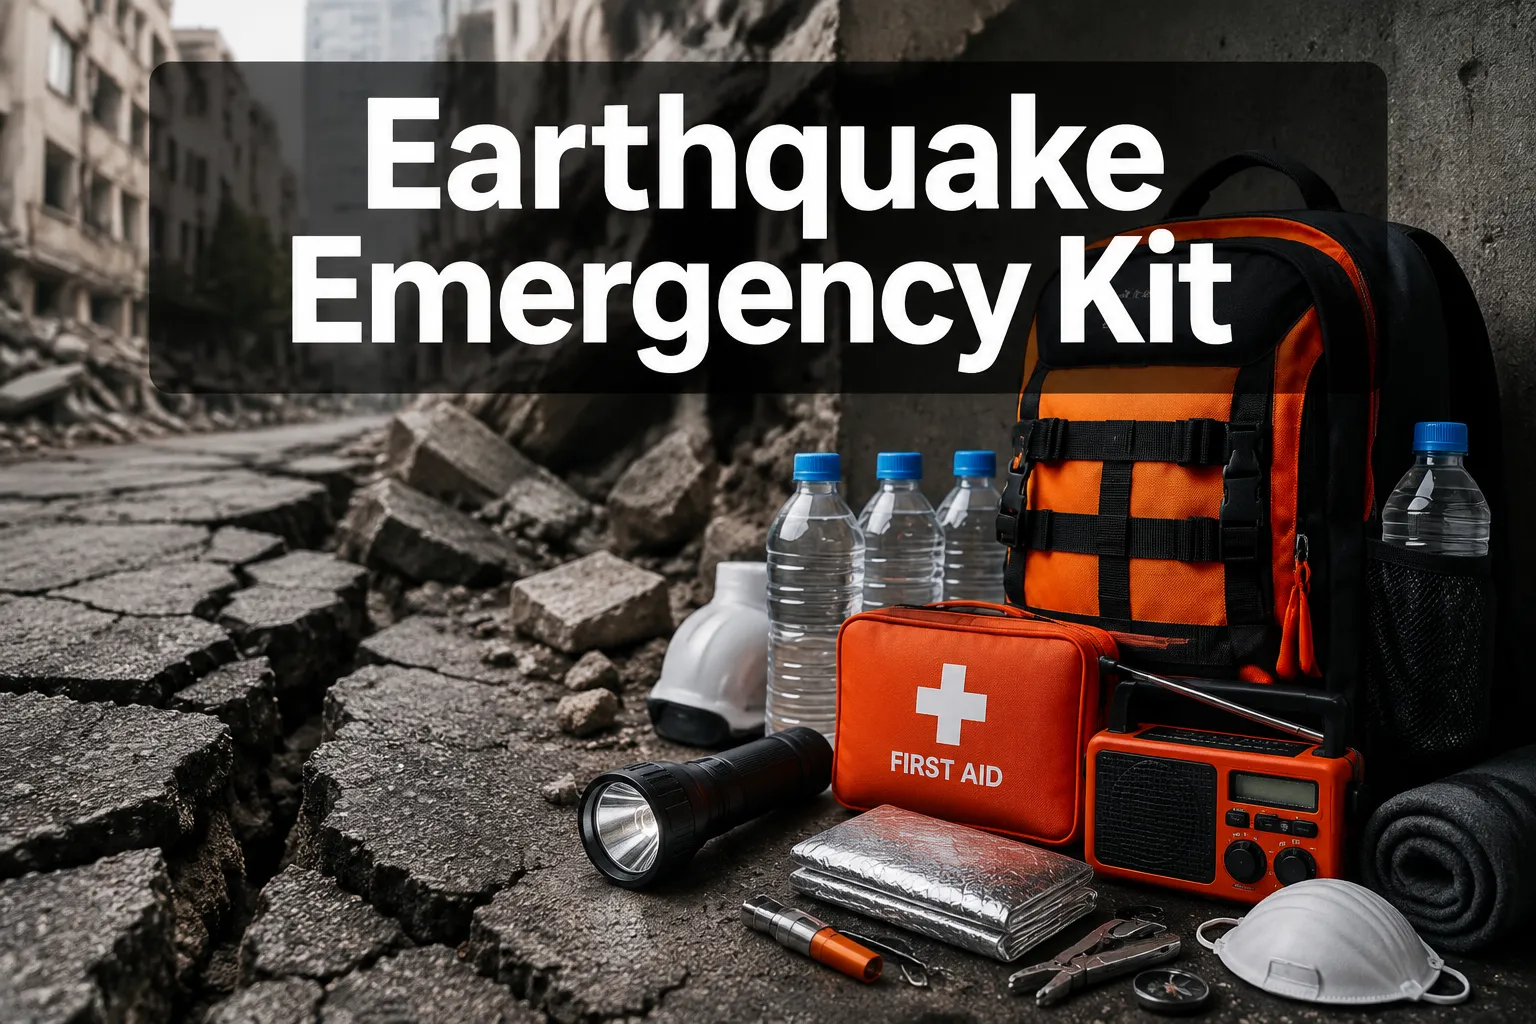
The U.S. Geological Survey estimates that several million earthquakes occur worldwide each year, most too small to feel, but thousands powerful enough to collapse buildings, rupture gas lines, and cut off emergency services for days. When the shaking starts, you have seconds. What happens in the 72 hours after depends almost entirely on what you prepared before.
This guide is the Earthquake Emergency Kit: The Definitive Checklist, a complete, no-fluff resource built for preppers and survivalists who want real answers, not generic advice. Whether you’re building your first kit or auditing what you already have, this is where you start.
Key Takeaways
- Store at least one gallon of water per person per day for a minimum of three days (72 hours), ideally two weeks.
- Every household member needs their own kit tailored to their specific needs, children, elderly, and disabled individuals require custom additions.
- An earthquake kit is designed for shelter-in-place survival; a bug out bag is built for evacuation. They serve different purposes and you need both.
- Store your primary kit near an exit, not in a basement or interior closet that could be blocked by debris.
- Rotate food and water supplies every six to twelve months, and audit the full kit annually.
- Apartment dwellers face unique constraints, compact, grab-and-go kits stored near the front door are the practical solution.
- Budget kits can be built incrementally over 30 days for under $150 without sacrificing the essentials.
- Teaching kids the purpose of each item dramatically increases their ability to act calmly during an actual event.
What Should Be in an Earthquake Emergency Kit
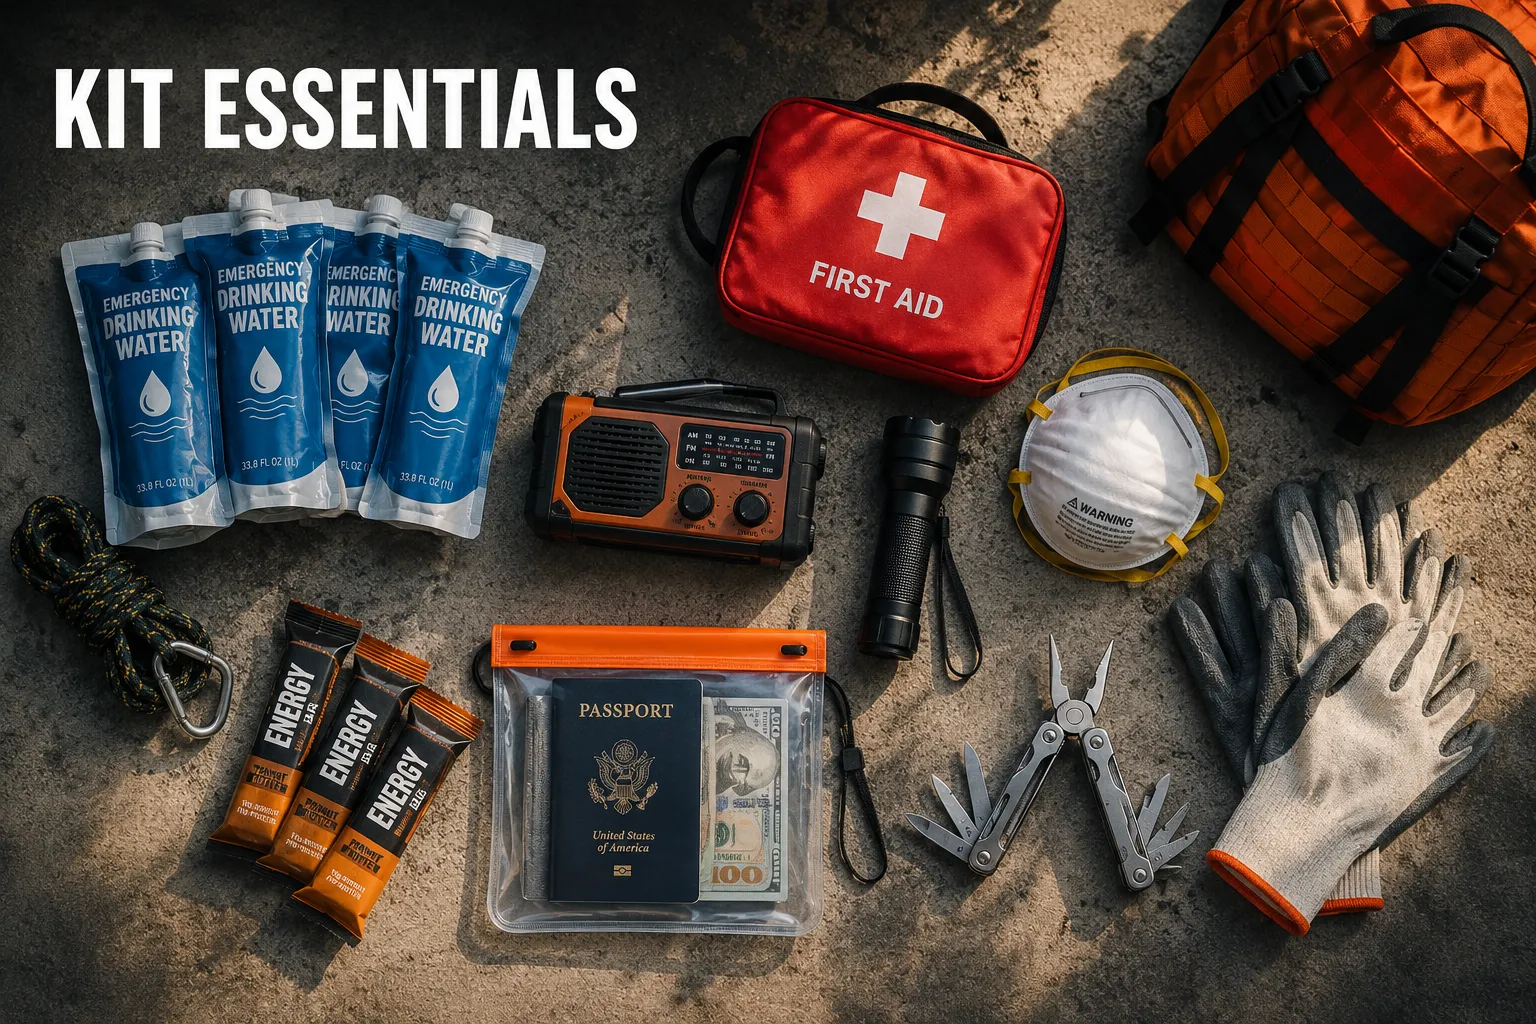
A complete earthquake emergency kit covers six core categories: water, food, first aid, tools and safety gear, documents, and communication. Every item serves a specific function during the 72-hour window when emergency services are typically overwhelmed or unavailable.
Core Supplies Checklist
Water and Food
- Water: 1 gallon per person per day (minimum 3 days, target 14 days)
- Water purification tablets or a portable filter (LifeStraw or Sawyer Squeeze)
- Non-perishable food for 3 to 14 days: canned goods, freeze-dried meals, energy bars
- Manual can opener
- Portable camp stove with fuel canisters
First Aid and Medical
- Comprehensive first aid kit (bandages, gauze, antiseptic, tourniquets, SAM splints)
- 30-day supply of prescription medications
- Copies of prescriptions and medical records
- N95 dust masks, critical after structural collapse when air is filled with particulates
- Nitrile gloves (at least 4 pairs)
Tools and Safety
- Flashlight and extra batteries (or hand-crank/solar-powered)
- Emergency hand-crank or battery-powered NOAA weather radio
- Work gloves (leather or heavy-duty)
- Crowbar or pry bar for debris
- Wrench or pliers to shut off gas and water valves
- Whistle (to signal rescuers if trapped)
- Duct tape and heavy-duty plastic sheeting
Communication and Documents
- Waterproof pouch with copies of IDs, insurance cards, passports, and financial documents
- Emergency contact list printed on paper (phones die)
- Local area map (paper)
- USB battery bank, fully charged
Comfort and Sanitation
- Emergency mylar blankets (one per person)
- Sleeping bag or wool blanket
- Sanitation kit: toilet paper, hand sanitizer, waste bags, feminine hygiene products
- Change of clothes and sturdy closed-toe shoes
For a broader look at what official guidance often overlooks, see this ultimate emergency supplies list that goes beyond the standard FEMA recommendations.
How Much Water Do You Actually Need in an Earthquake Kit
The standard recommendation is one gallon per person per day. For a three-day minimum, a family of four needs 12 gallons. For a two-week supply, the more realistic target in a major urban earthquake, that same family needs 56 gallons.
These numbers assume moderate activity and a temperate climate. In hot weather, during physical exertion, or for pregnant or nursing women, double the estimate. Don’t forget pets: dogs and cats need roughly one ounce of water per pound of body weight per day.
Practical water storage options:
- FEMA-approved 5-gallon stackable water containers for home storage
- WaterBOB bathtub bladder (holds up to 100 gallons from your tap before an event)
- Sealed commercial water pouches for grab-and-go kits (4-year shelf life)
- Portable water filter as a backup for sourcing water from local streams or pools
For a deeper breakdown of storage methods and purification, the ultimate emergency water storage and purification guide covers every option in detail.
Earthquake Emergency Kit vs Bug Out Bag: What’s the Difference
These are two different tools for two different scenarios. An earthquake emergency kit is designed for shelter-in-place survival, you stay in or near your home while infrastructure is restored. A bug out bag is designed for rapid evacuation when staying is more dangerous than leaving.
| Feature | Earthquake Kit | Bug Out Bag |
|---|---|---|
| Primary use | Shelter-in-place | Evacuation |
| Weight | No limit | Under 30 lbs |
| Water supply | 14-day home storage | 72-hour portable |
| Size | Large bins or shelves | Single backpack |
| Mobility | Stationary | Grab-and-go |
In earthquake preparedness, you need both. The earthquake kit sustains you at home when roads are impassable. The bug out bag gets you out if the structure is compromised or a secondary hazard (fire, gas leak, dam failure) forces evacuation. For evacuation-specific planning, the 72-hour bug out bag checklist is the logical companion to this guide.
Earthquake Kit Checklist for Families with Kids
Children need everything in the standard kit plus a few additions that most checklists skip. The goal isn’t just physical survival, it’s keeping kids calm, comfortable, and cooperative during a frightening event.
Add to your family earthquake kit:
- Comfort items: a small stuffed animal, a familiar blanket, or a favorite book
- Age-appropriate snacks (familiar foods reduce stress in young children)
- Diapers, formula, and baby food for infants
- Child-specific medications (fever reducer, antihistamine)
- Copies of custody documents and school contact information
- Activity book or small games for extended shelter-in-place situations
- Each child’s kit in their own small backpack (age 5 and up can carry their own)
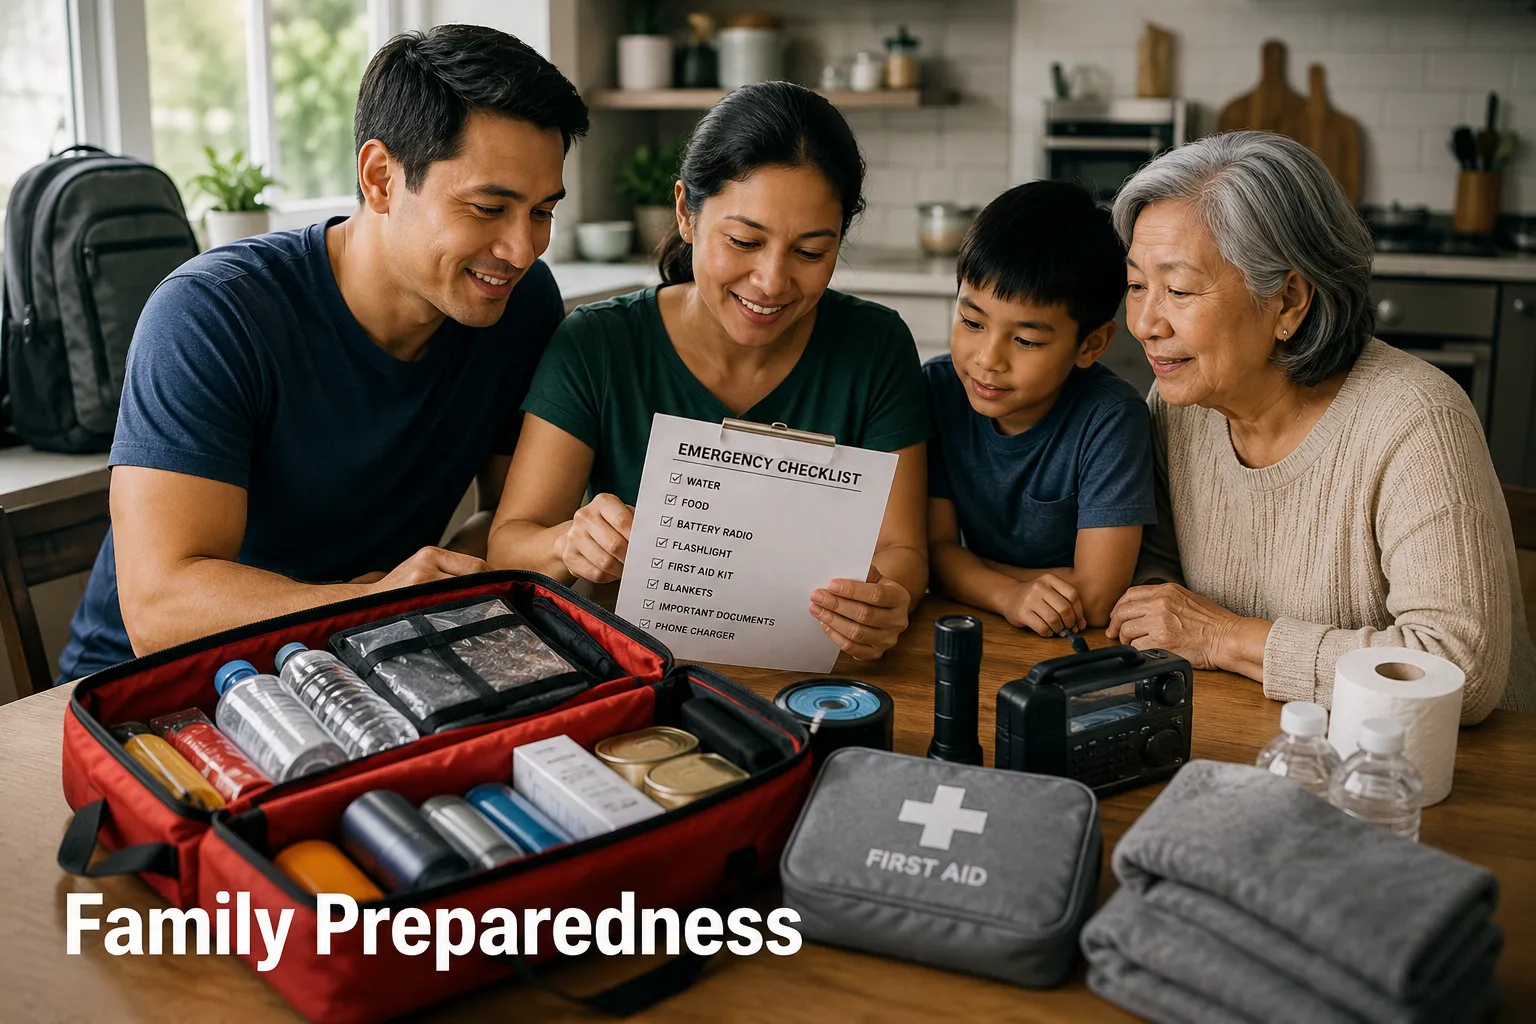
The most important thing families can do is practice. Run a drill. Show children where the kit is stored, what the whistle is for, and where the family meeting point is outside the home. For a structured approach to this, disaster preparedness for families lays out a 12-strategy system that works for households with kids of any age.
Earthquake Kit Essentials for Elderly People and People with Disabilities
Standard kits assume a healthy adult. For elderly individuals and people with disabilities, the earthquake emergency kit requires targeted additions that address mobility, medical dependency, and communication.
For elderly individuals:
- Extra supply of all prescription medications (90-day supply if insurance allows)
- Copies of medical directives and physician contact information
- Hearing aid batteries and spare glasses
- Mobility aids: folding cane, collapsible walker, or wheelchair repair kit
- High-calorie, easy-to-chew food options
- Medical alert information card kept in the kit
For people with disabilities:
- Backup power for medical devices (oxygen concentrators, CPAP machines)
- Communication aids for non-verbal individuals
- Sensory comfort items for those with sensory processing needs
- A personal support network plan, identify two neighbors who can assist during evacuation
The emergency preparedness guide for disabled individuals provides a full framework for building a kit and a support plan that accounts for specific conditions. For seniors specifically, 9 essential disaster prep strategies for seniors addresses the unique vulnerabilities that come with age.
Earthquake Kit for Apartments vs Houses
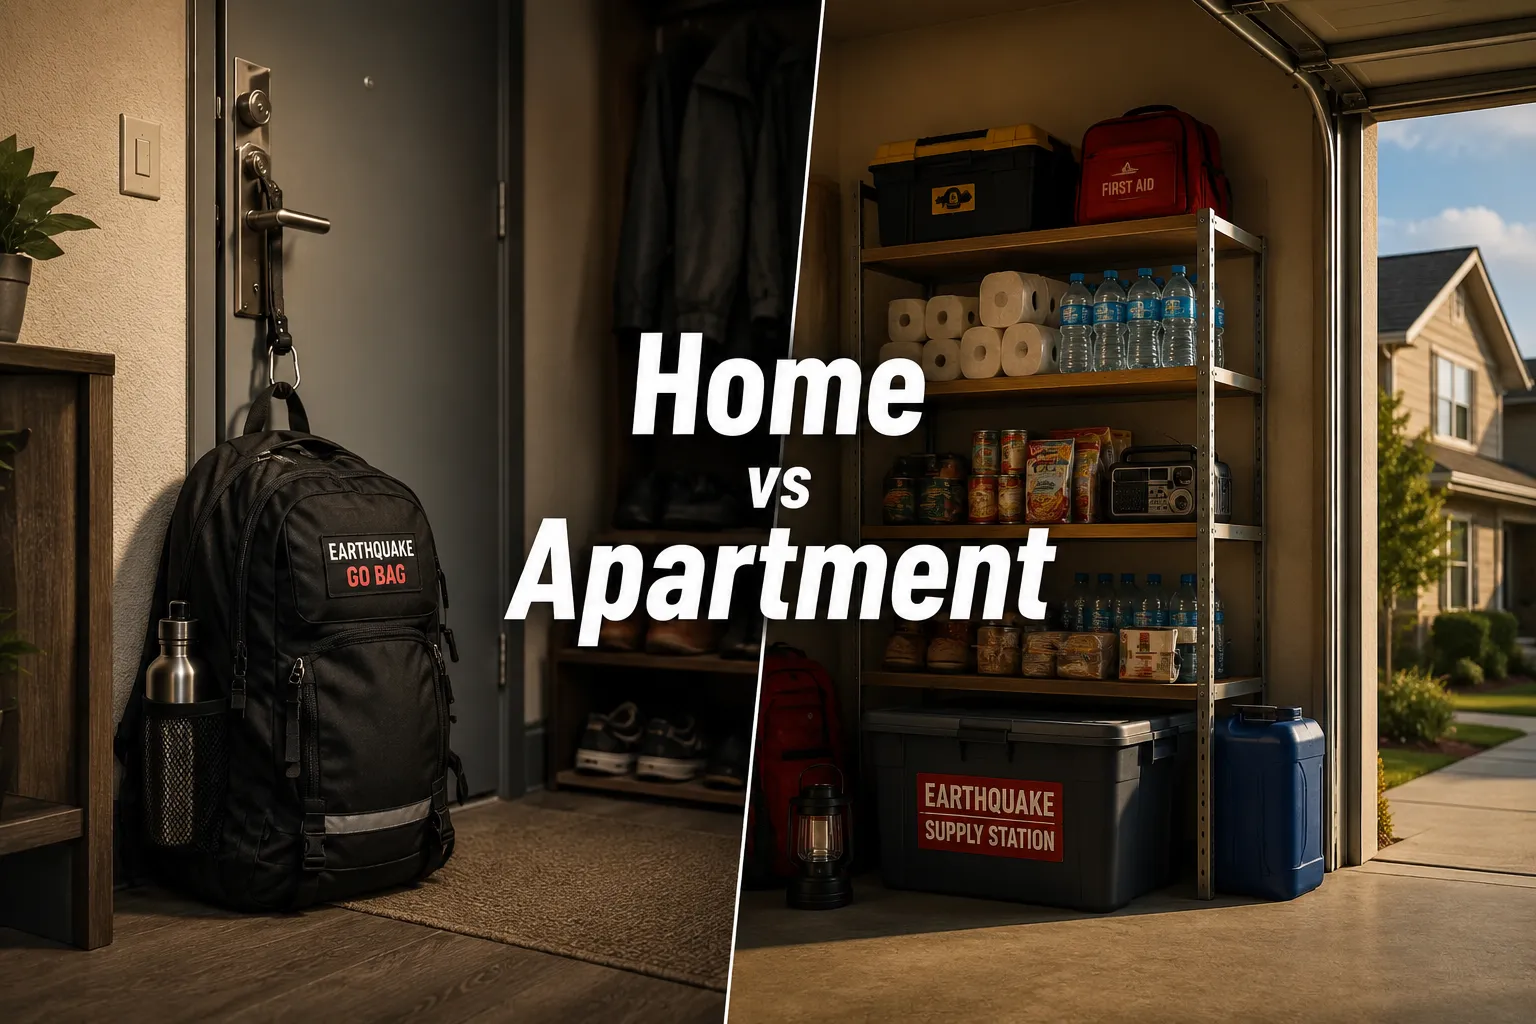
Apartment dwellers face real constraints: limited storage space, shared exits, and the reality that evacuation may be mandatory if the building is red-tagged. The approach must be different.
Apartment earthquake kit priorities:
- Use a single, sturdy backpack or rolling duffel stored near the front door
- Focus on portability over volume, you may need to descend multiple flights of stairs
- Store water in stackable 1-gallon containers in a closet or under the bed
- Keep a secondary mini-kit at work (see below)
- Know your building’s evacuation routes and stairwell locations
House earthquake kit advantages:
- Larger storage capacity allows for 14-day supplies
- Garage or utility room storage is ideal, accessible even if interior doors are blocked
- Can include heavier tools like a full-size pry bar, generator, or larger water storage
For apartment-specific prep strategies, the bug out bag for apartment living checklist and the urban survival kit for apartment residents are both worth bookmarking.
Where Should You Keep Your Earthquake Kit at Home
Store your primary earthquake kit in a location that remains accessible after structural damage. The worst places: basement storage rooms, interior closets near load-bearing walls, and under stairwells. The best places: garage near the exterior door, a hallway closet on the ground floor near an exit, or a weatherproof outdoor storage box.
Storage rules:
- Keep kits off the floor on shelving to avoid flood damage
- Use clearly labeled, waterproof bins or bags
- Store at least one small emergency pouch in each vehicle
- Keep a basic 24-hour kit in your desk or locker at work
Do You Need Different Earthquake Kits for Work and Home
Yes. Earthquakes don’t wait for you to be at home. A major event during work hours means you could be separated from your family and your main kit for hours or days.
Workplace earthquake kit (desk drawer or locker):
- Water: 2 to 4 sealed pouches
- Energy bars (2,000 calories minimum)
- Dust mask (N95)
- Flashlight
- Basic first aid supplies
- Emergency contact list (printed)
- Walking shoes if you wear dress shoes to work
- $40 to $60 in small bills (ATMs fail after major earthquakes)
This isn’t redundancy, it’s coverage for the hours when your main kit is miles away.
How Often Should You Replace Items in Your Earthquake Kit
Audit your earthquake kit every six months and do a full replacement cycle annually. Use the daylight saving time changes as a reminder, the same day you change your smoke detector batteries, check your kit.
Replacement schedule by item type:
- Water (store-bought sealed): every 12 months
- Canned food: check expiration dates; most last 2 to 5 years
- Freeze-dried meals: 25-year shelf life, but check seals annually
- Medications: replace when expired or when prescriptions change
- Batteries: every 12 months, or switch to lithium (5-year shelf life)
- First aid supplies: replace used or expired items immediately
- Documents: update after any major life change (new insurance, new address, new family member)
How to Build an Earthquake Emergency Kit on a Budget
A functional earthquake kit does not require a $500 investment upfront. The most practical approach is to build incrementally over 30 days, spending $20 to $30 per week.
Week-by-week budget build:
- Week 1: Water (12 gallons for a family of four, approximately $15 to $20)
- Week 2: Food (canned goods, peanut butter, rice, energy bars, $25 to $30)
- Week 3: First aid kit, N95 masks, work gloves ($20 to $30)
- Week 4: Flashlight, batteries, hand-crank radio, whistle ($25 to $35)
Total cost: approximately $85 to $115 for a solid 72-hour kit for a family of four. Expand from there. The prepper checklist for beginners 30-day system maps out exactly this kind of incremental build.
Common Mistakes People Make with Earthquake Kits
Even experienced preppers make these errors. Knowing them in advance saves lives.
- Storing water in non-food-grade containers. Bleach jugs and milk jugs are not safe for long-term water storage.
- Forgetting a manual can opener. Useless canned food is worse than no canned food.
- Relying on phone-based contact lists. When your phone dies, you need paper.
- Keeping the kit in the basement. Flooding and structural collapse make basements dangerous and inaccessible.
- Never testing the gear. A flashlight with corroded batteries is not a flashlight.
- Ignoring pet needs. Pets are family members. Build their supplies into the kit.
- Buying a pre-made kit and never opening it. Pre-made kits are a starting point, not a finished product. Open it, audit it, and customize it.
For a complete breakdown of what’s commonly missing, 15 things missing from your emergency kit is a sobering read.
How to Teach Kids About Earthquake Preparedness Kits
Children who understand their kit are calmer, more cooperative, and more capable during an actual event. The goal is familiarity without fear.
Practical approaches:
- Let kids pack their own small backpack with age-appropriate items (snacks, a comfort toy, a flashlight)
- Explain each item’s purpose in simple terms: “This whistle is so rescuers can find us if we can’t move.”
- Practice the “drop, cover, and hold on” drill at home twice a year
- Make kit review a family activity, not a lecture
- Use the kids emergency preparedness guide as a framework for age-appropriate conversations
Children aged 5 and up can carry a 10% body weight pack. Children aged 10 and up can take on real responsibility for specific kit items.
Earthquake Emergency Kit: The Definitive Checklist at a Glance
Use this as a final audit before you consider your kit complete.
Tier 1, Non-Negotiable
- Water (1 gallon/person/day, 3-day minimum)
- Food (72-hour non-perishable supply)
- First aid kit
- N95 dust masks
- Flashlight and batteries
- NOAA emergency radio
- Whistle
- Work gloves
- Gas/water shutoff wrench
Tier 2, Strongly Recommended
- 14-day water supply
- 14-day food supply
- Prescription medications (30-day supply)
- Waterproof document pouch
- USB battery bank
- Sanitation kit
- Emergency mylar blankets
- Paper maps and contact list
- Cash in small bills
Tier 3, Situation-Specific
- Pet supplies
- Infant/toddler supplies
- Mobility aids for elderly or disabled household members
- Backup power for medical devices
- Workplace mini-kit
- Vehicle emergency kit
FAQ
How long should my earthquake kit last? Build for a minimum of 72 hours. Realistically, major urban earthquakes can disrupt services for 7 to 14 days. A two-week supply is the standard serious preppers aim for.
Can I use a regular backpack for my earthquake kit? Yes, especially for apartment dwellers. Choose a durable pack with padded straps rated for 30 to 40 pounds. Internal frame packs work well for heavier loads.
What’s the single most overlooked item in earthquake kits? A manual can opener. Followed closely by a printed emergency contact list. Both are cheap, small, and frequently missing.
Should I include a firearm in my earthquake kit? That’s a personal decision based on your situation, local laws, and training. If you do, store it securely and ensure all household members know the safety protocols.
What food works best in an earthquake kit? High-calorie, no-cook options: peanut butter, crackers, canned fish, nuts, dried fruit, and energy bars. Freeze-dried meals are excellent for extended kits but require water to prepare.
How do I store my kit if I live in a small apartment? Use a single grab-and-go backpack near the front door. Store water in flat stackable containers under the bed or in a closet. Prioritize portability over volume.
Do I need a special kit for my car? Yes. A vehicle kit should include water pouches, a first aid kit, a reflective blanket, a flashlight, a basic tool kit, and walking shoes. See the ultimate car emergency kit list for the full breakdown.
What if a family member has serious medical needs? Consult their physician about emergency medication supplies. Many insurance plans allow 90-day fills. Also identify the nearest medical facility and an alternate if the primary is inaccessible. Register with your local emergency management office if the person requires power-dependent medical equipment.
Is a pre-made earthquake kit worth buying? As a starting point, yes. As a finished solution, no. Pre-made kits often include low-quality items and miss household-specific needs. Open it, test it, and add to it.
How do I keep my kit from being raided for everyday use? Store it in a clearly labeled, sealed container. Treat it as off-limits except for drills and audits. Replenish anything used immediately.
Conclusion
Preparedness isn’t about predicting when the next earthquake will hit. It’s about removing the panic from the equation before it arrives. A well-built earthquake emergency kit means that when the ground moves, your first thought is action, not scrambling to find a flashlight or realizing you haven’t stored a drop of water.
Start with the Tier 1 essentials. Build from there. Audit twice a year. Customize for every person in your household, including pets. And practice, because a kit that nobody knows how to use is just a box of supplies.
The goal at Preppers HQ has always been confidence, not fear. This checklist is how you build it.
Products, Tools, and Resources
Recommended gear for building your earthquake kit:
- LifeStraw Personal Water Filter, Lightweight, no batteries, filters up to 1,000 gallons. A reliable backup to stored water.
- Midland ER310 Emergency Crank Radio, NOAA weather alerts, solar and hand-crank charging, built-in flashlight and SOS beacon.
- WaterBOB Bathtub Emergency Water Storage, Holds up to 100 gallons from your tap before an event. Ideal for homeowners.
- Ready America 70280 Emergency Kit, A solid pre-made starting point for a family of four. Audit and expand after purchase.
- Augason Farms 30-Day Emergency Food Supply, Freeze-dried meals with a 25-year shelf life. Good for Tier 2 and 3 kit expansion.
- Gerber Gear Center-Drive Multi-Tool, Includes a wrench, pliers, screwdrivers, and a blade in one compact tool.
- Preppers HQ Resources: The ultimate disaster preparedness checklist and the family emergency plan template are the logical next steps after completing your kit.
Earthquake Kit Audit Checklist
Check off each item as you confirm it’s in your kit.