
Hey there! Some links on this page may be affiliate links which means that, if you choose to make a purchase, I may earn a commission at no extra cost to you. I greatly appreciate your support. Read the full disclosure here.
Only 39% of Americans have an emergency supply kit prepared for a disaster, according to FEMA’s national preparedness survey. That means roughly six in ten households would be scrambling for food, water, and basic supplies within the first hours of a crisis, the exact window when stores are stripped bare and emergency services are overwhelmed.
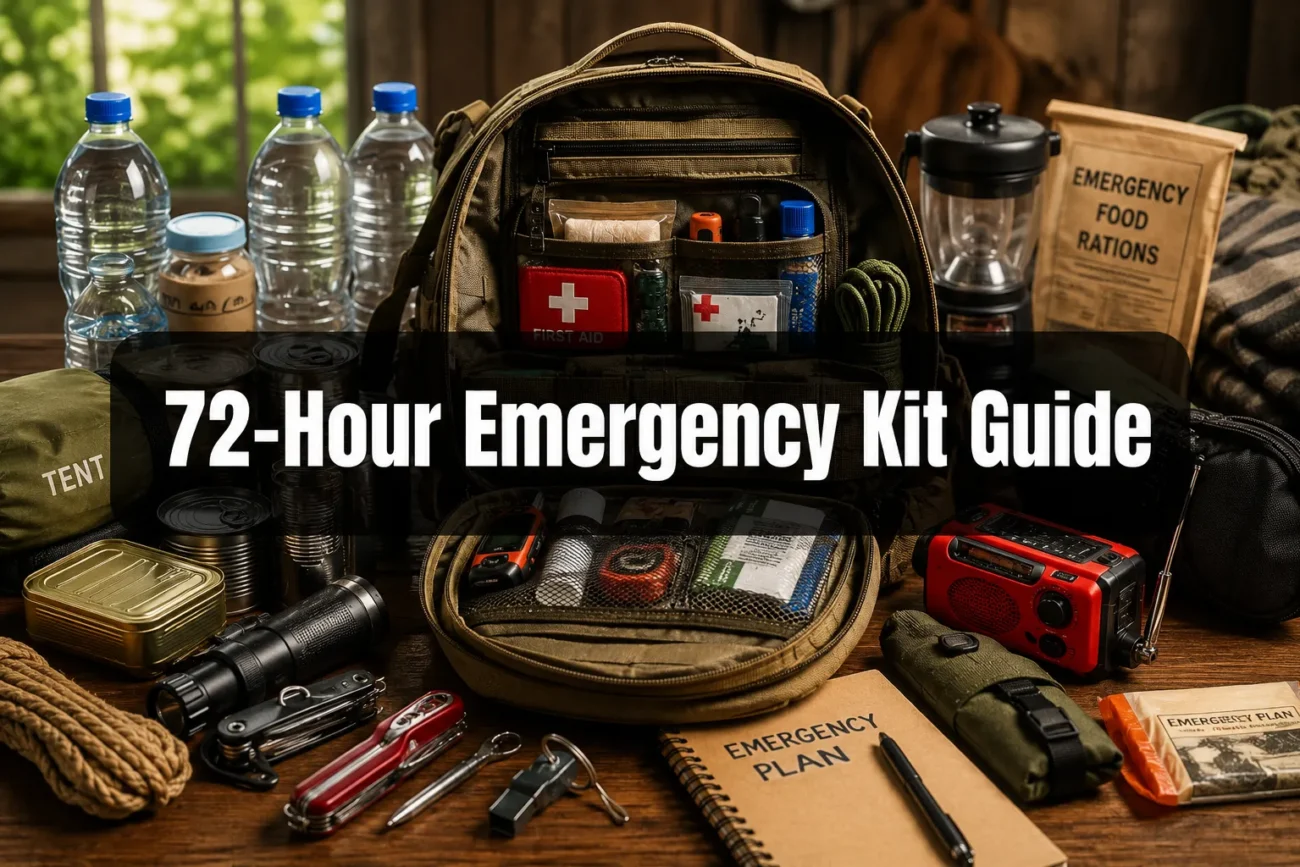
This guide covers exactly how to build a 72-hour emergency kit from scratch, whether you’re a first-time prepper or refining a system you already have. A 72-hour kit, sometimes called a bug-out bag or go-bag, is designed to sustain one or more people for three full days without access to utilities, grocery stores, or outside help. That’s the realistic window most emergency management agencies use before organized relief arrives.
Key Takeaways
- A complete 72-hour emergency kit covers water, food, first aid, shelter, communication, light, and documents for every person in your household.
- The baseline water requirement is one gallon per person per day, meaning three gallons minimum per person for 72 hours.
- Kits for families with children, pets, or medical needs require specific add-ons beyond the standard checklist.
- A 72-hour kit differs fundamentally from a 30-day supply in portability, purpose, and contents.
- Apartment dwellers face unique space and access constraints that require a modified approach.
- Emergency kits should be reviewed and partially restocked every six months.
- The cheapest way to build a solid kit is to buy in phases over 30 days rather than all at once.
What Should You Put in a 72-Hour Emergency Kit
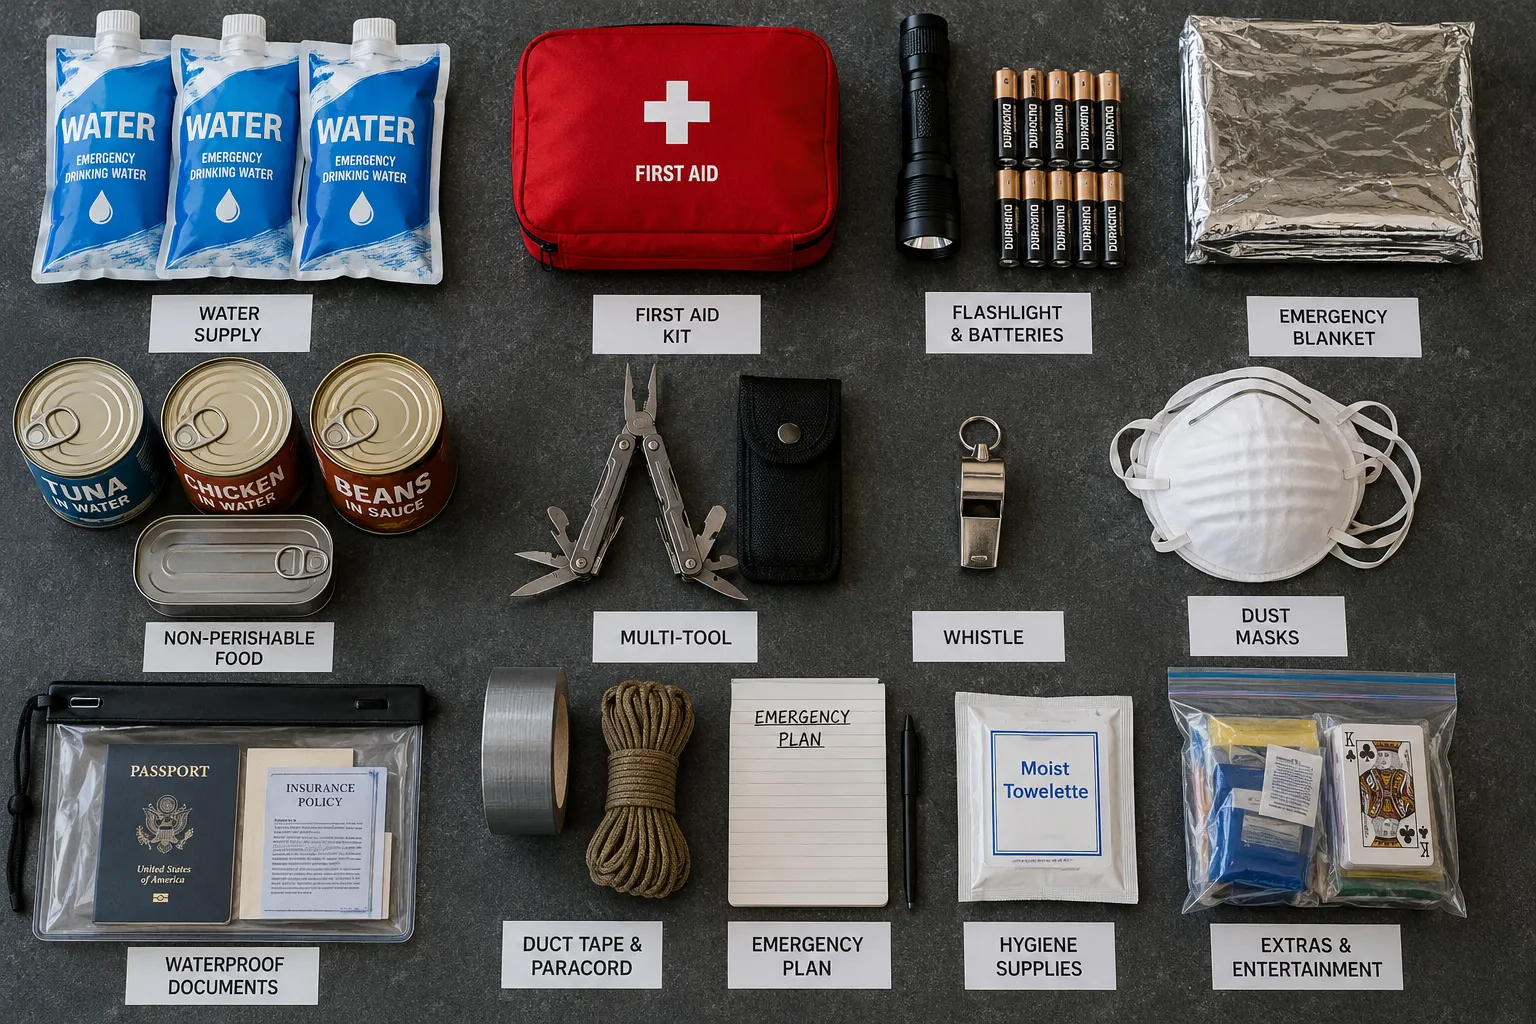
A complete 72-hour emergency kit covers seven core categories: water, food, first aid, shelter and warmth, light and communication, documents and cash, and tools. Every item you include should serve a clear function for the specific number of people in your household.
Here’s a practical breakdown by category:
Water
- 1 gallon per person per day (3 gallons per person minimum)
- Water purification tablets or a portable filter as backup
- Collapsible water containers for refilling if needed
Food
- Non-perishable items with at least a 5-year shelf life
- Aim for 1,200 to 2,000 calories per person per day
- Ready-to-eat options: canned goods, energy bars, freeze-dried meals, peanut butter, crackers
- Manual can opener (this gets forgotten more than almost anything else)
First Aid
- Bandages, gauze, medical tape, antiseptic wipes
- Nitrile gloves, CPR face shield
- Tweezers, scissors, thermometer
- Any prescription medications (minimum 7-day supply)
- Pain relievers, antihistamines, anti-diarrheal medication
Shelter and Warmth
- Emergency Mylar blankets (one per person)
- Lightweight rain poncho
- Change of clothes and sturdy walking shoes
- Dust masks or N95 respirators
Light and Communication
- Flashlight with extra batteries (or hand-crank)
- Battery-powered or hand-crank weather radio
- Backup phone charger or solar charger
- Whistle for signaling
Documents and Cash
- Copies of IDs, insurance cards, passports in a waterproof bag
- $100 to $200 in small bills (ATMs go offline during outages)
- List of emergency contacts written on paper
Tools
- Multi-tool or Swiss Army knife
- Duct tape
- Paracord (50 feet minimum)
- Local paper map
For a deeper look at what FEMA recommends versus what experienced preppers actually carry, see the ultimate emergency supplies list.
How Much Water Do You Need for a 72-Hour Emergency Kit
The standard recommendation is one gallon of water per person per day for drinking and basic sanitation. For a 72-hour kit, that means three gallons per person, so a family of four needs 12 gallons minimum.
That figure assumes moderate activity and a temperate environment. In hot weather, strenuous conditions, or for people who are pregnant or nursing, double that estimate. Children and pets add to the total as well (more on pets below).
Practical water storage options for a 72-hour kit:
- Commercial water pouches (4-ounce pouches, 5-year shelf life), excellent for portability
- 1-gallon water jugs, affordable and easy to rotate
- 5-gallon water jugs, better for home kits, harder to carry
- Water purification tablets (iodine or chlorine dioxide), lightweight backup for any kit
Tap water stored in clean, food-grade containers is a cost-effective option. Rotate stored tap water every six months. For a complete breakdown of storage methods, treatment options, and common mistakes, the emergency water storage and purification guide covers every scenario in detail.
One gallon per person per day is a floor, not a ceiling. Plan for more whenever possible.
Best Emergency Kit Checklist for Families
A family emergency kit follows the same core structure as a solo kit but scales up in food and water while adding child-specific and household-specific items. The most common mistake families make is building one large kit instead of a primary home kit plus individual go-bags for each person.
Additional items for families with children:
- Formula, baby food, or breast pump (if applicable)
- Diapers, wipes, and rash cream
- Child-sized N95 masks
- Comfort items: a small stuffed animal, a familiar snack
- Printed list of children’s medical information and blood types
- Activities to manage stress: a small book, playing cards
For more on preparing children specifically, the resource on kids’ emergency preparedness covers age-appropriate planning in detail.
For families with elderly members:
- Extra prescription medications with clear dosage instructions
- Medical equipment batteries (hearing aids, CPAP, etc.)
- Mobility aids or backup devices
- Printed list of physicians and medical history
The disaster preparedness guide for seniors addresses the specific needs of older adults in a crisis.
72-Hour Kit vs. 30-Day Emergency Supply: Key Differences
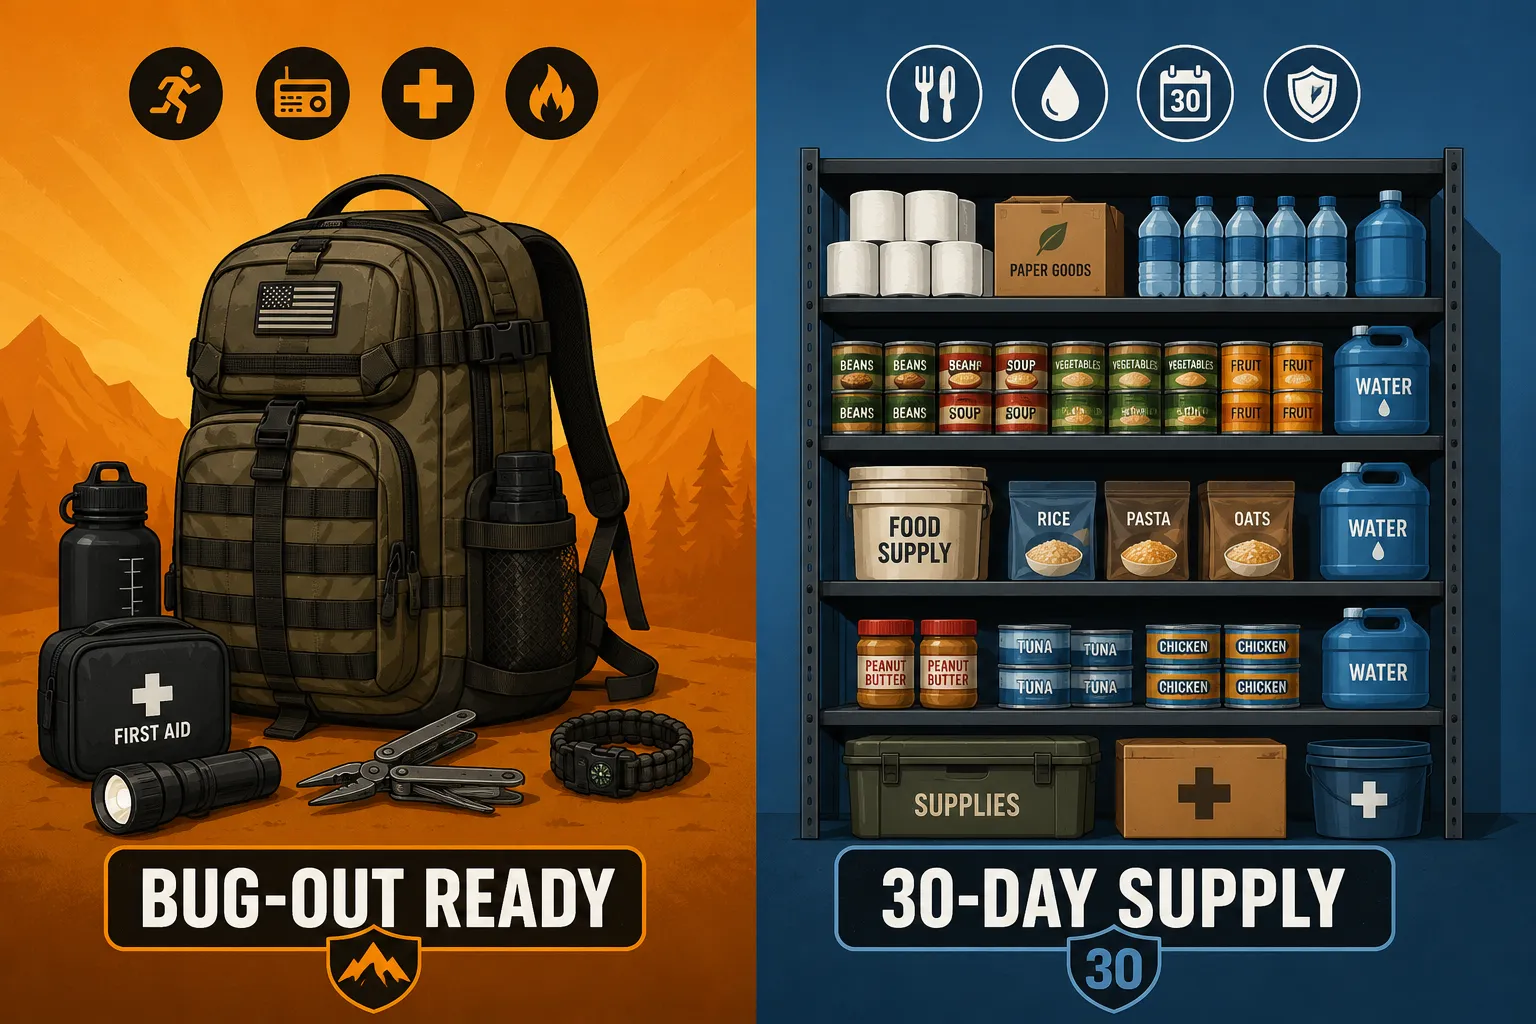
A 72-hour kit is built for mobility and immediate survival. A 30-day supply is built for sheltering in place over an extended period. They serve different scenarios and should not be confused.
| Feature | 72-Hour Kit | 30-Day Supply |
|---|---|---|
| Primary purpose | Evacuation or short outage | Extended shelter-in-place |
| Portability | Backpack or single bag | Shelving, bins, storage room |
| Food type | Ready-to-eat, no cooking needed | Bulk staples, freeze-dried, cooking required |
| Water storage | 3 gallons per person | 30+ gallons per person |
| Cost to build | $100,$300 | $500,$2,000+ |
| Rotation frequency | Every 6 months | Annually (with rolling use) |
Choose a 72-hour kit if your primary concern is a fast evacuation scenario, wildfire, flooding, or chemical spill. Choose a 30-day supply if your concern is a prolonged grid failure, economic disruption, or extended quarantine. Most serious preppers build both. For guidance on longer-term food planning, the 3-month emergency food supply guide is a natural next step.
How to Organize Your Emergency Kit at Home
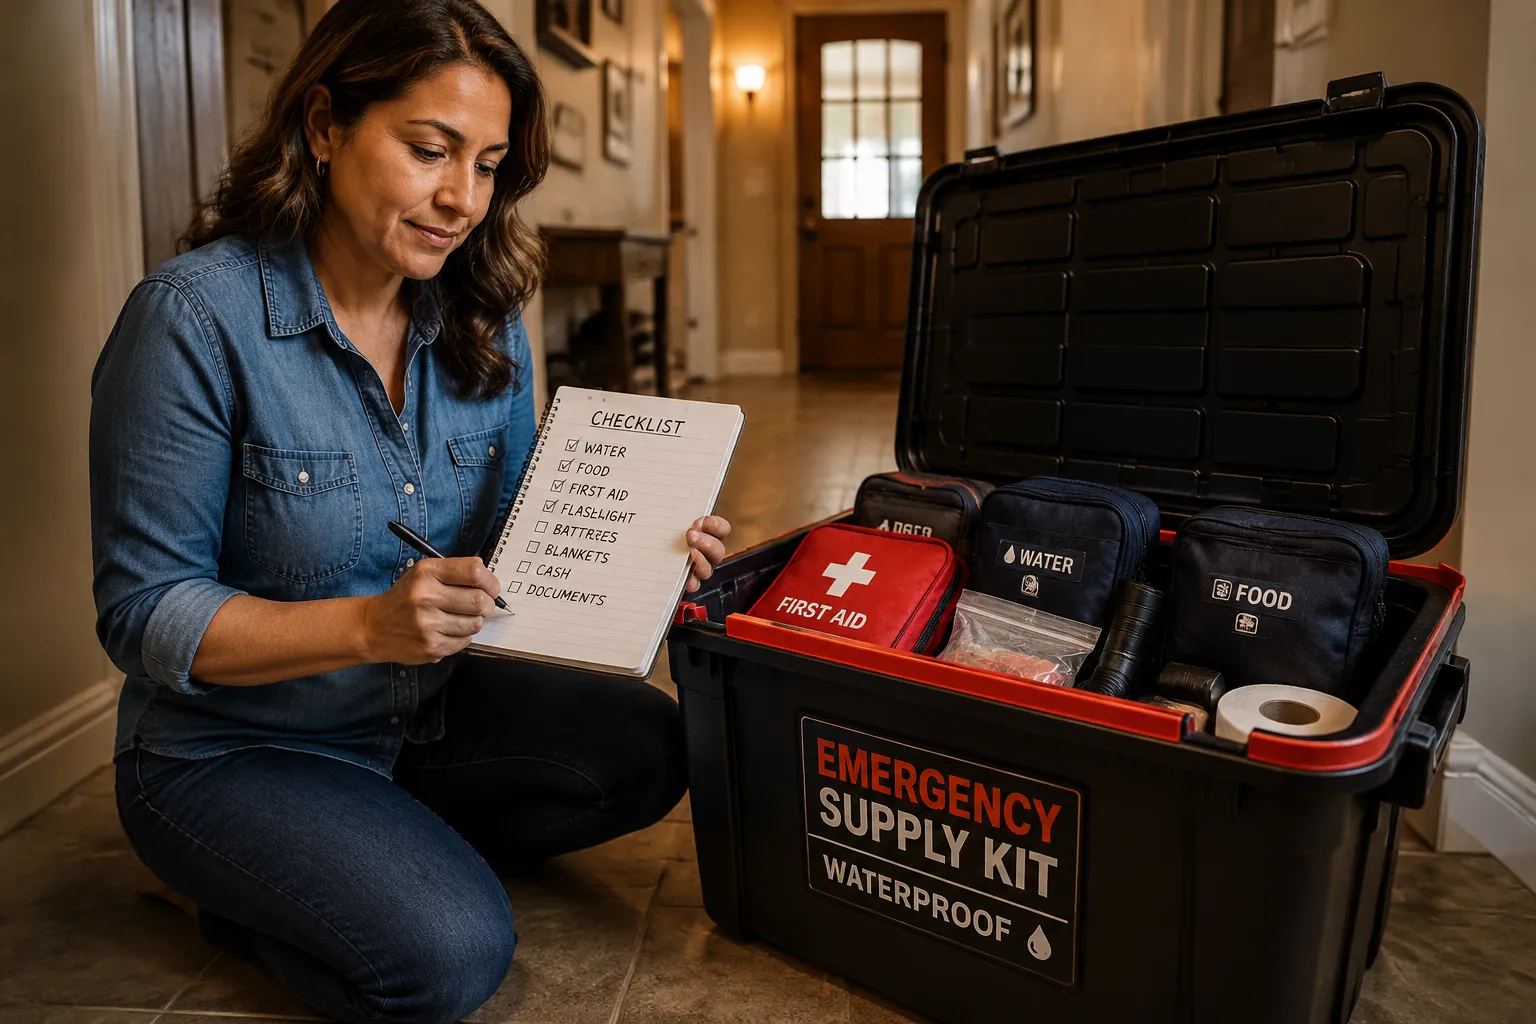
A disorganized kit is nearly as useless as no kit at all. The goal is to find any item in under 60 seconds, even under stress, even in the dark.
Step-by-step organization system:
-
Choose your container. A quality backpack works for a portable kit. A waterproof bin or rolling duffel works better for a home-based kit. Label everything on the outside.
-
Group by category. Use zip-lock bags or small pouches to keep categories together: water treatment in one bag, first aid in another, documents in a waterproof folder.
-
Prioritize by access. Items you’d grab in 60 seconds, phone charger, medications, cash, copies of IDs, go at the top or in an exterior pocket.
-
Label expiration dates. Write the expiration date on the outside of every food and medication package with a permanent marker. This makes rotation fast and obvious.
-
Create a master inventory list. A single laminated sheet listing every item and its expiration date lives inside the kit. Update it every time you rotate supplies.
-
Store it in a consistent, accessible location. Near the front door, in a hallway closet, or under a bed, wherever your household can reach it in under two minutes.
For a complete home-based preparedness system, the ultimate guide to home emergency preparedness covers room-by-room organization in depth.
Emergency Kit for Apartment Dwellers: What’s Different
Apartment preppers face three specific challenges: limited storage space, restricted access to exits during evacuations, and building-level decisions (like lockdowns) that are outside their control. A 72-hour kit for apartment living must be compact, portable, and ready to move fast.
Key differences for apartment kits:
- Prioritize a single, well-packed backpack over multiple bins
- Store water in stackable pouches rather than large jugs
- Keep the kit near the front door, not in a storage unit down the hall
- Include a floor plan of your building with marked exits and stairwells
- Add a door-stop alarm and a rope ladder if you’re above the third floor
Space is the main constraint, but it’s solvable. The apartment water storage guide shows how to store 30+ gallons in a small space, and the urban survival kit for apartment residents covers the full kit setup for city living.
What Medications Should Be in an Emergency Kit
Every emergency kit needs a medications layer, and most people underestimate it. At minimum, include a 7-day supply of any prescription medications taken daily, stored in original labeled containers. Add a written list of dosages, prescribing physicians, and pharmacy contact information.
Over-the-counter medications to include:
- Pain reliever and fever reducer (ibuprofen or acetaminophen)
- Antihistamine (diphenhydramine or cetirizine)
- Anti-diarrheal medication (loperamide)
- Antacid
- Electrolyte packets (for dehydration)
- Topical antibiotic ointment
- Eye wash solution
Common medication mistakes:
- Storing medications in a hot car or garage (heat degrades most drugs quickly)
- Forgetting to rotate prescription supplies when refills come in
- Omitting medical equipment like blood glucose monitors, insulin coolers, or EpiPens
For preppers interested in deeper medical preparedness, the guide on antibiotics for preppers covers prescription-level options and when they’re appropriate.
Emergency Kit for Pets: What You Need
Pets need their own emergency supplies, they cannot share human food, water, or medications in most cases. A pet emergency kit should be separate from your household kit and clearly labeled.
Core pet emergency kit contents:
- 3-day supply of food in a sealed waterproof bag
- 1 gallon of water per medium-sized dog per day (cats require less)
- Copies of vaccination records and microchip information
- Any prescription medications with dosage instructions
- Collapsible food and water bowls
- Leash, harness, and a carrier or crate
- Comfort item (a familiar toy or blanket reduces stress significantly)
- Recent photo of you with your pet (proof of ownership)
The ultimate pet emergency preparedness checklist covers 45 specific items for dogs, cats, and small animals.
Does Your Emergency Kit Need Batteries and Flashlights
Yes, and this is one area where most store-bought kits fall short. Power outages are the most common emergency scenario in the United States, and a flashlight with dead batteries is worse than useless because it creates false confidence.
What to include:
- At least one LED flashlight per person (LED bulbs last far longer than incandescent)
- Extra batteries in the correct sizes, stored separately in a sealed bag to prevent corrosion
- A hand-crank or solar-powered flashlight as a backup that requires no batteries
- Headlamps for hands-free use (invaluable for first aid or cooking in the dark)
- Battery-powered or hand-crank NOAA weather radio for emergency alerts
- A portable battery bank for charging phones (10,000 mAh minimum)
Lithium batteries outperform alkaline in cold temperatures and have a longer shelf life, typically 10 years versus 5 to 7 for alkaline. For extended power preparedness beyond a 72-hour kit, the backup power guide for emergencies covers generators, solar, and battery systems.
How Often Should You Replace Emergency Kit Supplies
Review your kit every six months, a practical schedule is to align reviews with daylight saving time changes in spring and fall. Full replacement isn’t necessary each time; the goal is to identify expired items, rotate food and water, and check that batteries still hold a charge.
Six-month review checklist:
- Check expiration dates on all food, water pouches, and medications
- Test flashlights, radios, and battery banks
- Replace batteries showing corrosion or low charge
- Update documents (IDs, insurance cards, contact lists)
- Verify that clothing and shoes still fit household members (especially children)
- Confirm medications are current and prescriptions are up to date
Items that expire fastest:
- Water pouches: 5 years
- Canned food: 2 to 5 years depending on type
- Energy bars: 1 to 3 years
- Prescription medications: varies, check label
- Batteries: 5 to 10 years (lithium lasts longer)
The Cheapest Way to Build a 72-Hour Emergency Kit
Building a complete kit doesn’t require spending $300 in a single weekend. The most cost-effective approach is a phased build over 30 days, adding one category per week.
30-day budget build (estimated $100,$150 total):
- Week 1, Water ($15,$25): Buy a case of water pouches or fill clean gallon jugs from the tap. Add water purification tablets.
- Week 2, Food ($25,$40): Stock up on canned goods, peanut butter, crackers, and energy bars during a regular grocery run. Buy a manual can opener.
- Week 3, First Aid and Light ($25,$35): A basic first aid kit costs $15 to $25 at most pharmacies. Add a flashlight and a pack of lithium batteries.
- Week 4, Documents, Communication, and Tools ($20,$30): Print and laminate copies of key documents. Add a hand-crank radio, a whistle, and a multi-tool.
Avoid pre-assembled “survival kits” sold online for $50 to $100. Most contain low-quality items, undersized water pouches, and food bars with minimal calories. Building your own kit gives you control over quality, quantity, and dietary needs.
Where to Store Your 72-Hour Emergency Kit
The best storage location is somewhere accessible in under two minutes, protected from extreme heat and moisture, and known to every adult in your household. A hallway closet near the front door is the most practical choice for most homes.
Storage rules:
- Avoid garages and attics, temperature swings degrade food, medications, and batteries faster
- Keep the kit off the floor if flooding is a risk in your area
- Store a secondary kit in your vehicle for commuting emergencies (see the car emergency kit guide for specifics)
- If you have multiple floors, consider a small secondary kit on each level
For apartment dwellers, under the bed or in a front-hall closet works well. The key is consistency, every household member should be able to retrieve the kit without thinking about it.
Common Emergency Kit Mistakes That Undermine Your Preparedness
The most dangerous mistake isn’t forgetting an item, it’s building a kit and never opening it again. A kit that hasn’t been checked in three years may have expired food, dead batteries, and medications that are no longer valid.
Other frequent mistakes:
- Building for one person when you have a family. Scale water and food to your actual household size, not a generic “standard” kit.
- Ignoring dietary restrictions. A kit full of wheat-based products is useless if someone in the household has celiac disease.
- No cash. Card readers go offline during power outages. Small bills matter.
- No paper map. GPS requires power. A local paper map is a non-negotiable backup.
- Forgetting sanitation. Toilet paper, hand sanitizer, wet wipes, and waste bags are frequently overlooked but critical in a multi-day scenario.
- Overpacking to the point the kit can’t be carried. A 72-hour kit should be moveable by one person. If it weighs more than 25% of your body weight, it’s too heavy.
- No copies of documents. Originals can be lost or damaged. Laminated copies in the kit and digital backups in cloud storage cover both scenarios.
For a thorough look at what most people leave out, the guide on 15 things missing from your emergency kit is worth reading before you finalize your build.
Frequently Asked Questions
What’s the difference between a 72-hour kit and a bug-out bag?
They’re often used interchangeably, but a bug-out bag typically implies a portable backpack built for evacuation, while a 72-hour kit can refer to either a portable bag or a home-based bin. Both cover 72 hours of supplies. The complete bug-out bag guide covers the distinction in detail.
Can I buy a pre-made 72-hour emergency kit instead of building one?
Pre-made kits are a starting point, not a finished solution. Most are under-stocked on calories, use low-quality first aid supplies, and don’t account for your household’s specific needs. Use a commercial kit as a base and add to it.
How much should a complete 72-hour kit cost?
A solid DIY kit for one person runs $100 to $150. A family of four can build a quality kit for $250 to $350 over 30 days by buying in phases. Pre-made kits at comparable quality levels cost $150 to $400 per person.
Do I need a 72-hour kit if I live in a low-risk area?
Yes. Power outages, water main breaks, and localized flooding happen in every region. The kit isn’t just for catastrophic events, it’s for any scenario where normal systems become unavailable for 24 to 72 hours.
What food is best for a 72-hour emergency kit?
Ready-to-eat foods that require no cooking or minimal water preparation are ideal: energy bars, canned meats and vegetables, peanut butter, crackers, and dried fruit. Freeze-dried meals are excellent but require hot water. Keep cooking requirements minimal in a portable kit.
Should children have their own emergency kit?
Children over age 8 can carry a small personal pack with their own water, snacks, a comfort item, and a copy of their emergency contact information. This builds confidence and reduces the load on adults.
How do I store insulin or other temperature-sensitive medications in an emergency kit?
Use an insulated medication case with a reusable ice pack. Rotate the ice pack regularly and keep a written protocol for how long the medication remains viable at various temperatures. Consult your pharmacist for specific guidance on your medication.
What if my family has different dietary needs?
Build your kit around the most restrictive diet in your household. Label allergen-free items clearly. Consider individual food pouches rather than shared bulk containers to avoid cross-contamination.
Is a 72-hour kit enough for a major disaster?
It’s a foundation, not a ceiling. A 72-hour kit covers the immediate window while you assess the situation and decide whether to shelter in place or evacuate. Serious preppers build toward a 30-day supply as the next layer.
What’s the single most forgotten item in emergency kits?
A manual can opener. It’s cheap, lightweight, and essential if your kit contains canned food. The second most forgotten item is cash in small bills.
Conclusion
Building a 72-hour emergency kit is one of the highest-return preparedness actions you can take. It doesn’t require a large budget, a storage room, or advanced survival skills. It requires a clear checklist, a realistic assessment of your household’s needs, and the discipline to review it twice a year.
Start with water and food this week. Add first aid and light sources next week. Finish with documents, tools, and communication gear by the end of the month. By the time 30 days have passed, you’ll have a complete, organized kit that gives your household genuine confidence, not just the feeling of preparedness, but the real thing.
Actionable next steps:
- Count your household members (including pets) and calculate your water requirement.
- Audit what you already own, most households have 30 to 40% of the items already.
- Build a shopping list by category and set a weekly budget.
- Choose a storage location and tell every adult in your household where it is.
- Set a calendar reminder for six months from today to review and rotate supplies.
For a broader preparedness framework beyond the 72-hour kit, the ultimate emergency preparedness guide for preppers covers every layer from short-term kits to long-term self-reliance.
Products, Tools, and Resources
Recommended tools for building your kit:
- LifeStraw Personal Water Filter, Lightweight, filters up to 1,000 gallons, and requires no batteries or chemicals. An excellent backup water treatment option for any portable kit.
- Datrex 3600 Emergency Food Ration Bars, Coast Guard-approved, 5-year shelf life, 3,600 calories per pack. One of the most reliable ready-to-eat options for a 72-hour kit.
- Kaito KA500 Emergency Radio, Receives NOAA weather alerts, charges via hand crank, solar, USB, or AA batteries. A genuine multi-power-source radio worth the investment.
- Energizer Ultimate Lithium Batteries, 10-year shelf life, perform in extreme temperatures from -40°F to 140°F. Worth the premium over standard alkaline for emergency use.
- Pelican 1510 Case or similar waterproof hard case, For households in flood-prone areas, a waterproof hard case protects documents, medications, and electronics far better than a standard backpack.
- Anker PowerCore 10000 Portable Charger, Compact, reliable, and holds a charge for up to 18 months in storage. One of the most practical additions to any modern emergency kit.
These are category recommendations based on real-world performance and prepper community feedback, not paid placements. Choose the specific brand or model that fits your budget and household needs.