
Hey there! Some links on this page may be affiliate links which means that, if you choose to make a purchase, I may earn a commission at no extra cost to you. I greatly appreciate your support. Read the full disclosure here.
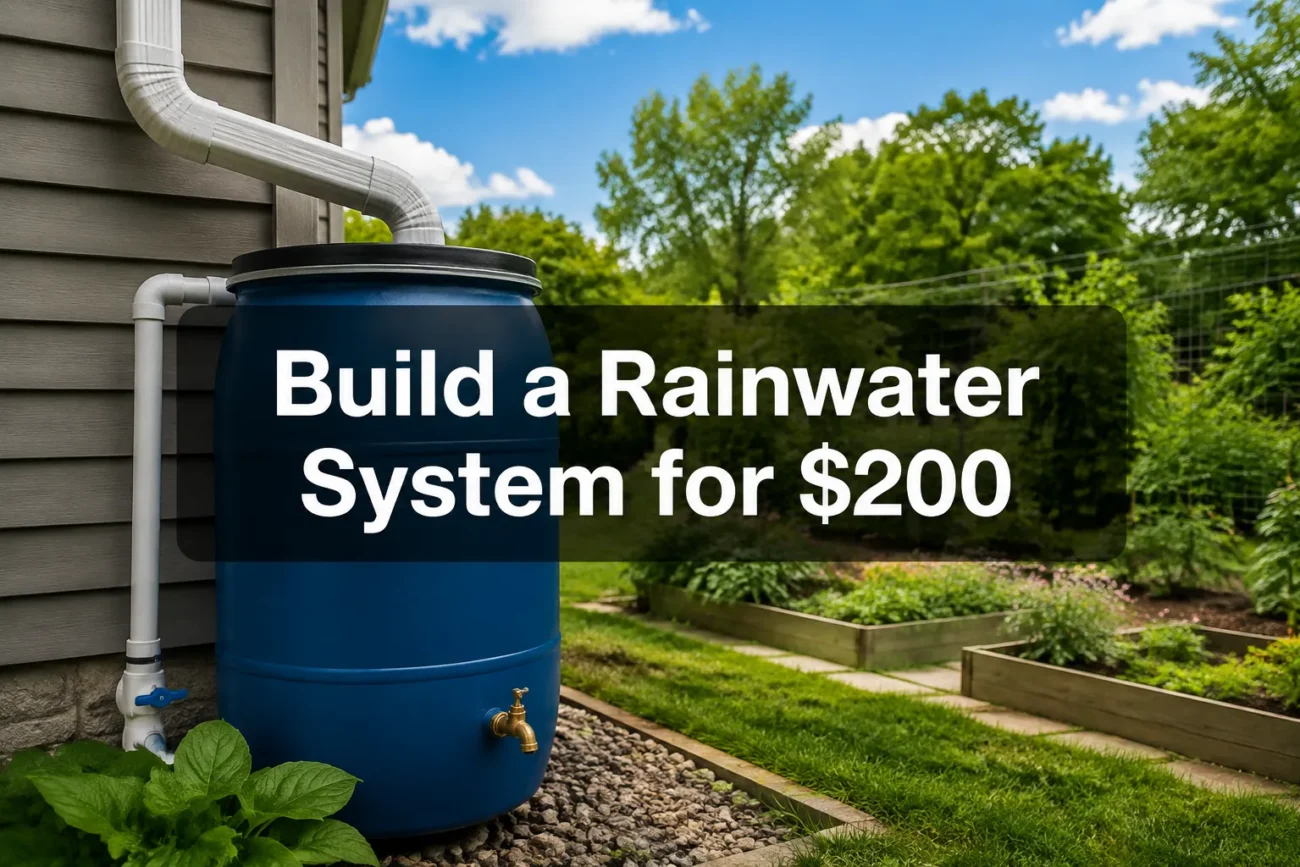
A single inch of rain falling on a 1,000-square-foot roof produces roughly 600 gallons of water, most of which flows straight into a storm drain and disappears. For preppers and self-reliant homesteaders, that’s not just a missed opportunity. It’s a critical vulnerability. Building a functional rainwater harvesting system: how to build one for under $200 is one of the highest-return preparedness projects you can complete in a single weekend, and it requires no specialized skills.
Key Takeaways
- A basic DIY rainwater collection system can be built for $75 to $180 using widely available materials from any hardware store.
- A standard 55-gallon food-grade barrel is the most cost-effective storage vessel for budget builds.
- First-flush diverters and mesh screens are non-negotiable for keeping debris and contaminants out of stored water.
- Rainwater harvesting is legal in most U.S. states, but a handful of states impose restrictions, always verify local regulations before building.
- Collected rainwater is not safe to drink without proper filtration and treatment, but it is excellent for garden irrigation, toilet flushing, and livestock watering.
- Even in relatively dry climates, a well-positioned system can collect hundreds of gallons per year from modest rainfall events.
- Maintenance is simple: inspect screens quarterly, flush the barrel annually, and check fittings for leaks each season.
What Is Rainwater Harvesting and How Does It Work
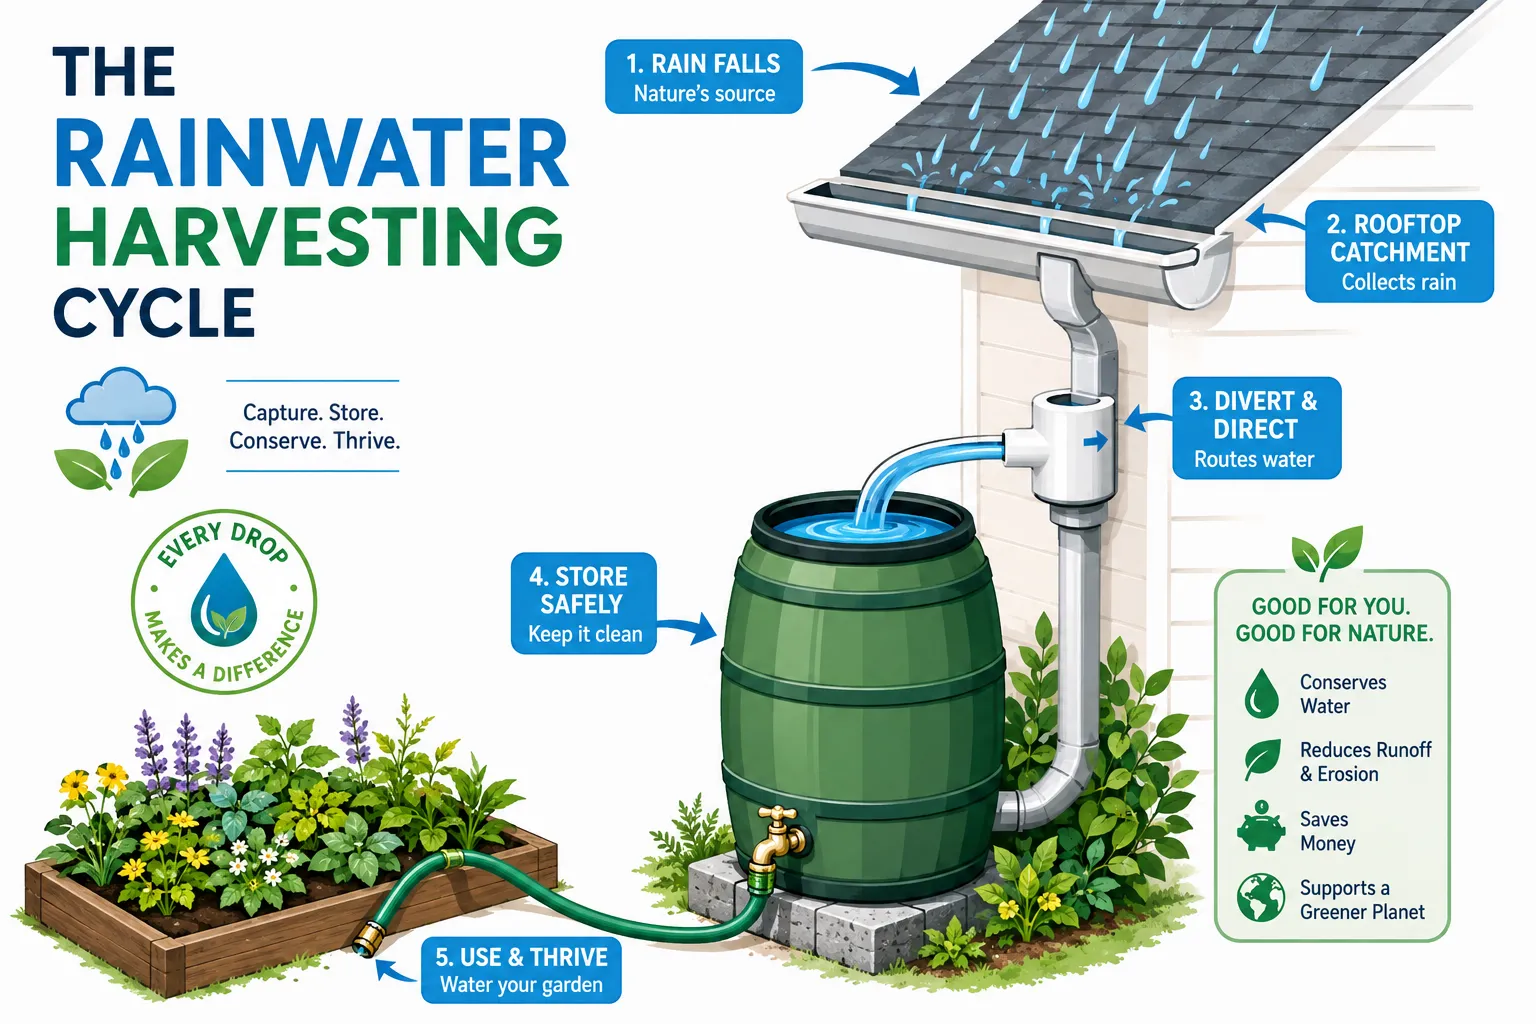
Rainwater harvesting is the practice of collecting and storing precipitation before it runs off your property, then using that stored water for household or agricultural purposes. The basic principle is straightforward: rain hits a collection surface (usually a rooftop), flows through gutters and downspouts, passes through a filtration stage, and enters a storage tank.
The four core components of any system are:
- Collection surface, typically a rooftop; metal and tile roofs are preferable to asphalt shingles for water quality
- Conveyance, gutters and downspouts that channel water toward the storage vessel
- First-flush diverter, a device that discards the first flow of water (which carries the most contaminants) before directing cleaner water into the tank
- Storage vessel, a sealed barrel, tank, or cistern with a spigot for access
For a budget build, the system works passively. No pumps, no electricity, no complex plumbing. Gravity does the work.
Can You Really Build a Rainwater Harvesting System for Under $200
Yes, a fully functional single-barrel system can be built for well under $200, and many preppers complete the project for $75 to $120. The cost depends on whether you source a used food-grade barrel or buy new, and whether you already own basic tools.
Here’s a realistic budget breakdown for a standard 55-gallon barrel system:
| Item | Estimated Cost |
|---|---|
| 55-gallon food-grade barrel (used) | $15, $40 |
| Downspout diverter kit | $15, $25 |
| Brass or PVC spigot | $8, $15 |
| Mesh screen / overflow fitting | $5, $12 |
| PVC fittings, caulk, hardware | $10, $20 |
| Cinder blocks or platform lumber | $10, $25 |
| Total Estimate | $63, $137 |
Buying a new 55-gallon barrel from a farm supply store or online adds $40 to $80 to the total, but still keeps the project well under $200. A pre-assembled rain barrel kit (available at most home improvement stores) typically runs $90 to $150 and requires minimal assembly, a solid option for those who want to skip the DIY steps entirely.
What Materials Do You Need for a DIY Rainwater Harvesting System
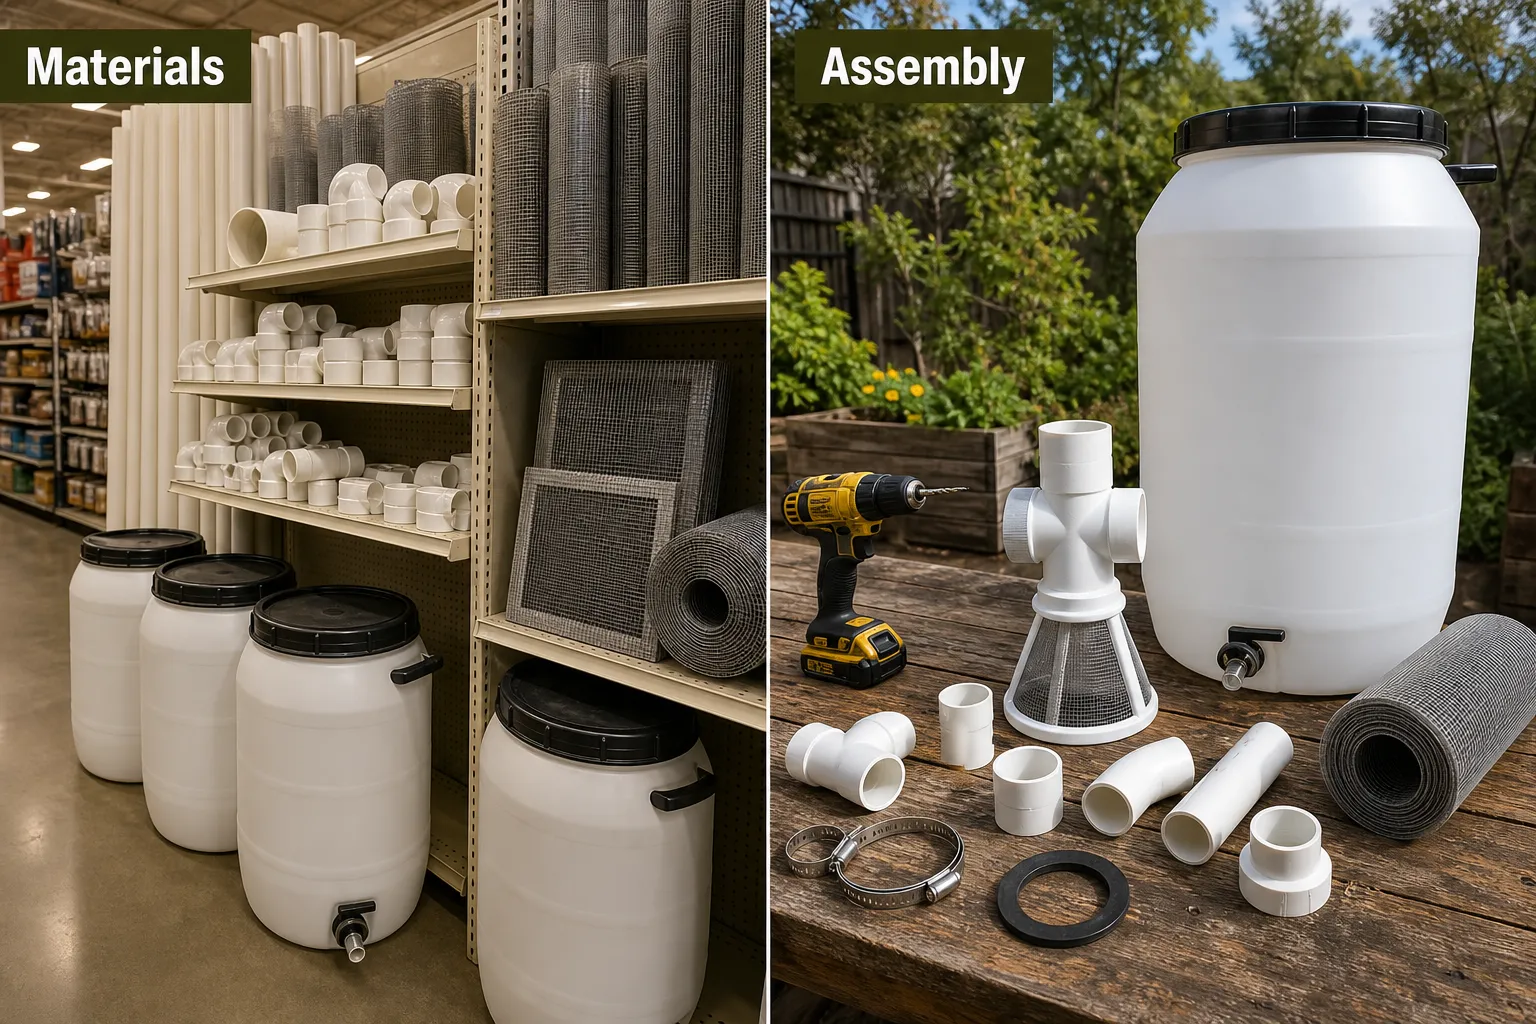
The core materials list is short, and everything is available at hardware stores like Home Depot, Lowe’s, or Tractor Supply Co.
Essential materials:
- 55-gallon food-grade plastic barrel (look for HDPE with a #2 recycling symbol)
- Downspout diverter or flex elbow to redirect flow from the gutter
- 3/4-inch brass or PVC spigot with a rubber washer and lock nut
- Fine mesh screen (window screen mesh works) to cover the inlet opening
- Overflow hose or fitting (to direct excess water away from your foundation)
- Silicone caulk or plumber’s putty for sealing
- Cinder blocks or a sturdy wooden platform (elevating the barrel 12-18 inches increases water pressure at the spigot)
Tools needed:
- Drill with a hole saw bit (sized to your spigot and overflow fitting)
- Utility knife or jigsaw for cutting the inlet hole
- Adjustable wrench
- Measuring tape
One important note: avoid barrels that previously held chemicals, pesticides, or non-food-grade liquids. Used food-grade barrels from pickle, olive, or syrup suppliers are ideal and often available cheaply through Craigslist, Facebook Marketplace, or local food distributors.
How to Install a Rainwater Harvesting System Yourself
Installing a basic single-barrel system takes two to four hours for most people. Here’s the process from start to finish.
Step 1: Choose your location. Position the barrel directly beneath an existing downspout on your home or outbuilding. Select a downspout that drains a large, clean roof section, away from overhanging trees if possible.
Step 2: Build a stable platform. Stack cinder blocks or build a simple wooden platform 12 to 18 inches high. This elevation creates enough gravity pressure to fill a watering can or connect a garden hose.
Step 3: Install the spigot. Drill a hole near the bottom of the barrel using a hole saw sized to your spigot. Insert the spigot with a rubber washer on the inside, tighten the lock nut, and seal around it with silicone caulk. Let it cure fully before filling.
Step 4: Cut the inlet opening. Cut a hole in the barrel lid or top large enough to accept water flow from the downspout diverter. Cover the opening with fine mesh screen, secured with a bungee cord or zip ties, to block debris, leaves, and mosquitoes.
Step 5: Install the overflow fitting. Drill a second hole near the top of the barrel and install an overflow fitting or elbow connected to a short hose. Direct overflow water at least three feet away from your foundation.
Step 6: Connect the downspout diverter. Cut the downspout at the appropriate height and install the diverter according to the manufacturer’s instructions. Most diverters automatically redirect water into the barrel when it’s not full, then switch flow back to the downspout when the barrel fills.
Step 7: Test the system. Run a garden hose over your roof or wait for rain. Check all fittings for leaks, confirm the overflow is directing water correctly, and verify the spigot opens and closes cleanly.
How Much Water Can a Budget Rainwater System Collect
A single 55-gallon barrel fills quickly during moderate rainfall. Using the standard catchment formula, roof area (sq ft) x rainfall (inches) x 0.623, a 500-square-foot roof section collects roughly 300 gallons per inch of rain. One good storm will fill your barrel multiple times over.
In practice, a single barrel serves best as a buffer for garden irrigation between rain events. For serious water security, link two to four barrels in series using overflow connectors. Four linked 55-gallon barrels cost $250 to $400 total and store 220 gallons, enough to water a medium-sized garden for several weeks without rain.
For reference, the average American uses 80 to 100 gallons of water per day for all household purposes (per U.S. Geological Survey data). A 55-gallon barrel covers less than one day of full household use, which is why preppers should treat a rainwater system as a supplement to broader water storage strategy, not a standalone solution.
Is Rainwater Harvesting Legal in Your Area
Rainwater harvesting is legal in the vast majority of U.S. states, and many states actively encourage it. However, a small number of states, historically including Colorado, Utah, and parts of the Southwest, have imposed restrictions tied to water rights law.
As of 2026, most of these restrictions have been significantly relaxed. Colorado, for example, now permits residential rainwater collection up to 110 gallons for outdoor use. Utah allows up to 2,500 gallons with registration.
Before building, check:
- Your state’s department of natural resources or water resources agency website
- Local county ordinances (HOA rules may also apply)
- Whether your municipality offers rebates for rain barrel installation (many do)
Outside the U.S., regulations vary widely. In Australia, the U.K., and Canada, rainwater harvesting is generally permitted and often incentivized. Always verify with local authorities before installing any system.
Rainwater Harvesting System vs. Buying Bottled Water: Cost Comparison
The long-term economics strongly favor a DIY rainwater system for any prepper thinking about water security. A 55-gallon barrel system built for $100 provides free water collection for years with minimal maintenance costs.
By contrast, bottled water costs roughly $1 to $2 per gallon at retail. Storing 55 gallons in bottled water costs $55 to $110, and that water has a shelf life. A rain barrel refills itself every time it rains, effectively at zero ongoing cost.
For garden irrigation specifically, the comparison is even more stark. Watering a 500-square-foot garden through summer can require 5,000 to 10,000 gallons. At municipal water rates averaging $0.004 to $0.008 per gallon, that’s $20 to $80 in water bills, but in a grid-down or water restriction scenario, that water simply isn’t available. A rainwater system provides that supply regardless of what’s happening to municipal infrastructure.
How to Filter and Store Rainwater Safely
Collected rainwater is not potable without treatment. It picks up dust, bird droppings, pollen, bacteria, and atmospheric pollutants as it falls and flows across your roof. For non-potable uses like irrigation, toilet flushing, and livestock watering, basic mesh filtration is sufficient.
For drinking water in an emergency, collected rainwater requires:
- Pre-filtration, a sediment filter or clean cloth to remove particulates
- Purification, boiling (rolling boil for one minute), chemical treatment (unscented household bleach at 8 drops per gallon), or a quality water filter like a Berkey or Sawyer system
- Safe storage, sealed, food-grade containers kept away from direct sunlight to prevent algae growth
Never store rainwater in clear containers outdoors. UV light promotes algae and bacterial growth. Dark or opaque barrels are standard for good reason.
For deeper guidance on water treatment and storage protocols, the Ultimate Emergency Water Storage and Purification Guide at Preppers HQ covers filtration methods, chemical treatment ratios, and long-term storage containers in detail.
Common Mistakes When Building a Budget Rainwater System
Most problems with DIY rain barrels trace back to a handful of avoidable errors.
Using the wrong barrel. Non-food-grade barrels, or barrels that previously held chemicals, can leach contaminants into collected water. Always verify the barrel’s history and material rating before use.
Skipping the first-flush diverter. The first flow of water off a roof carries the highest concentration of bird waste, debris, and pollutants. Without a diverter, all of that goes directly into your storage barrel.
Poor overflow management. A barrel without a proper overflow fitting will overflow at the base, saturating soil next to your foundation and potentially causing structural damage. Always install an overflow outlet directed away from the building.
No mosquito screening. Standing water breeds mosquitoes fast. Any opening on the barrel, inlet, overflow, or vent, must be covered with fine mesh screen.
Placing the barrel on unstable ground. A full 55-gallon barrel weighs roughly 460 pounds. It needs a flat, solid, level surface. A barrel that tips or shifts can crack fittings and create a serious hazard.
Forgetting to winterize. In freezing climates, water left in the barrel will expand and crack it. Drain and disconnect the system before the first hard freeze each fall.
Can Rainwater Harvesting Work in Dry Climates or Low Rainfall Areas
Yes, with realistic expectations. Even in semi-arid regions that receive 10 to 15 inches of rain per year, a well-positioned system on a large roof can collect hundreds of gallons annually. The key is maximizing catchment area and using every rainfall event efficiently.
In low-rainfall areas, consider:
- Connecting multiple barrels to capture as much of each rain event as possible
- Using a larger cistern (250 to 500 gallons) instead of a standard barrel
- Positioning the system to capture runoff from multiple downspouts
- Prioritizing high-value uses like drip irrigation for food gardens
In genuinely arid climates (under 8 inches of annual rainfall), a rainwater system alone won’t meet significant water needs. It works best as one layer of a broader water preparedness strategy that includes stored water reserves, water purification capability, and knowledge of local water sources.
Rainwater Harvesting for Renters and Small Spaces
Renters and apartment dwellers face real constraints, but they’re not completely locked out of rainwater collection. Options include:
- Balcony collection trays, shallow collection trays or tarps on a balcony can direct rainfall into a small container during rain events
- Portable rain barrel kits, compact 30 to 40-gallon collapsible barrels can be set up temporarily and stored flat when not in use
- Landlord negotiation, many landlords will permit a rain barrel installation at a downspout if the renter handles installation and removal
The honest limitation: apartment-scale collection is modest. A balcony in a city with 40 inches of annual rainfall might collect 20 to 50 gallons per year, useful for houseplants and small container gardens, but not a significant emergency water reserve.
For renters focused on water preparedness, the priority should be stored water (WaterBOB bathtub bladders, stackable water bricks) combined with a quality portable filter. Rainwater collection is a secondary layer.
Rainwater Harvesting System Maintenance and Cleaning Tips
A well-maintained rain barrel system runs reliably for 10 to 20 years. Maintenance is straightforward and takes less than an hour per season.
Quarterly:
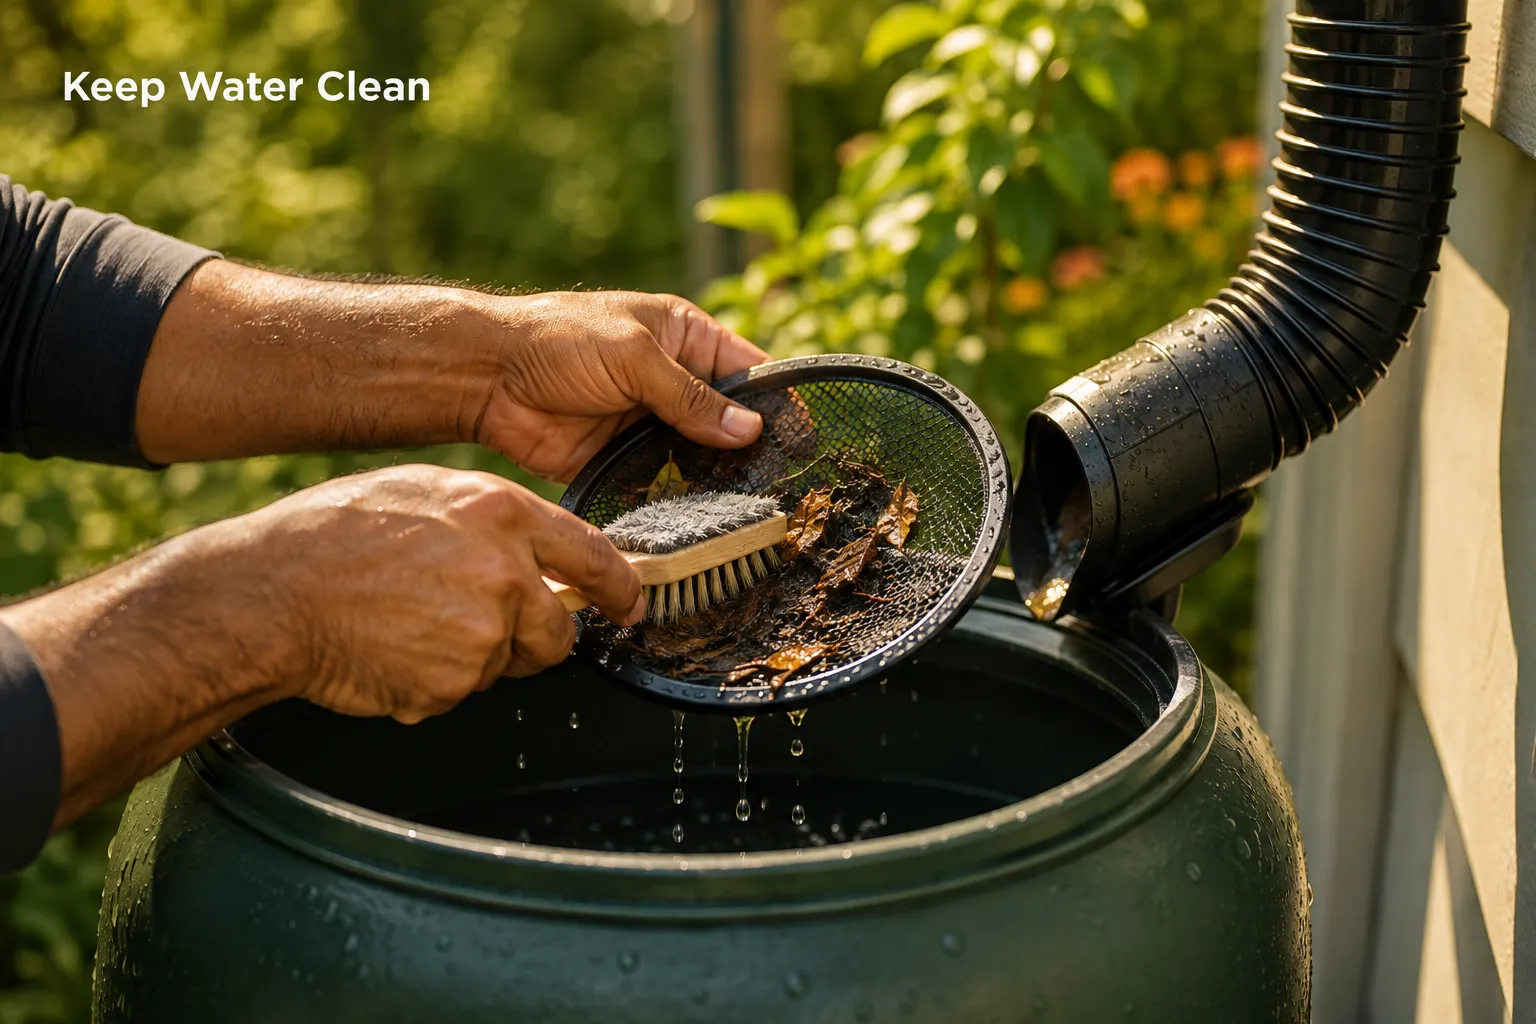
- Inspect the inlet mesh screen and clear any debris buildup
- Check all fittings and the spigot for leaks or mineral deposits
- Verify the overflow hose is clear and properly directed
Annually (spring):
- Drain the barrel completely
- Rinse the interior with a diluted bleach solution (1 tablespoon of unscented bleach per gallon of water), swirl, and drain
- Inspect the barrel for cracks, UV degradation, or algae growth
- Reconnect and test all fittings before the rainy season begins
Before winter:
- Drain the barrel fully
- Disconnect the downspout diverter and store it indoors if possible
- Store the barrel upside down or in a sheltered location to prevent freeze damage
Frequently Asked Questions
How long does it take to build a rain barrel system?
Most people complete a basic single-barrel installation in two to four hours, including platform construction. Pre-assembled kits cut that time to under an hour.
Do I need a plumber or contractor to install a rain barrel?
No. A basic barrel system requires no professional installation. It connects to an existing downspout using a simple diverter kit and involves only basic drilling and fitting work.
Can I drink rainwater collected from my roof?
Not without treatment. Roof-collected rainwater contains bacteria, bird waste, and atmospheric contaminants. For emergency drinking water, it must be filtered and purified through boiling, chemical treatment, or a quality filter system.
How do I keep mosquitoes out of my rain barrel?
Cover every opening, inlet, overflow, and any vents, with fine mesh screen (at least 16-mesh density). A properly sealed barrel with mesh screens will not breed mosquitoes.
What’s the best barrel material for a DIY system?
HDPE (high-density polyethylene) food-grade plastic is the standard choice. It’s UV-resistant, durable, non-toxic, and widely available. Avoid PVC barrels and any container that previously held non-food substances.
Will a rain barrel freeze in winter?
Yes, if left full. Always drain and disconnect your system before temperatures drop below freezing. A barrel full of frozen water can crack or split at the fittings.
How many barrels do I need for meaningful water storage?
For garden irrigation, one to two barrels is a solid start. For emergency water preparedness, four to six linked barrels (220 to 330 gallons) provides a more meaningful reserve, though even that covers only a few days of full household use.
Can I connect multiple rain barrels together?
Yes. Link barrels in series using overflow fittings and short sections of hose. When the first barrel fills, water flows automatically into the second, then the third. This is the most cost-effective way to scale storage.
Does the color of the barrel matter?
It does. Dark-colored or opaque barrels block sunlight, which prevents algae growth and slows bacterial proliferation. Avoid clear or translucent barrels for outdoor water storage.
What roof material is best for rainwater collection?
Metal roofs (galvanized, aluminum, or standing seam) and tile roofs produce the cleanest catchment water. Asphalt shingles are acceptable but may introduce more particulates and trace chemicals. Avoid collecting water from roofs treated with moss-killing chemicals or painted with lead-based paint.
Conclusion
Water independence is one of the most concrete forms of self-reliance a prepper can build. A functional rainwater harvesting system: how to build one for under $200 is within reach for almost anyone with a roof, a downspout, and a free afternoon. The materials are inexpensive, the installation requires no special skills, and the system pays for itself the first time municipal water is unavailable, restricted, or simply too expensive.
Start with a single 55-gallon barrel positioned at your most productive downspout. Get it running, test it through a full rain season, then expand with linked barrels as your budget allows. Pair your collection system with proper filtration capability so that stored water can be made safe for drinking in a genuine emergency.
Water is the one resource that cannot be improvised, rationed away, or substituted. Every gallon you collect and store is one less vulnerability in your preparedness plan.
Recommended tools and resources to get started:
- 55-gallon food-grade HDPE barrel, check local farm supply stores, Tractor Supply Co., or Facebook Marketplace for used barrels at $15 to $40
- Downspout diverter kit, brands like Rain Harvesting Supplies and Fiskars make reliable, easy-install kits available at Home Depot and Amazon
- Alexapure Pro Water Filtration System, for treating collected rainwater to drinking quality in an emergency scenario
- WaterBOB bathtub bladder, a complementary water storage solution for renters or those needing rapid emergency water reserves
- Preppers HQ Water Preparedness Guide, the Emergency Water Storage and Purification Guide covers storage containers, purification methods, and long-term water planning in depth