
Hey there! Some links on this page may be affiliate links which means that, if you choose to make a purchase, I may earn a commission at no extra cost to you. I greatly appreciate your support. Read the full disclosure here.
Canning is a safe, affordable way to preserve food without refrigeration by using heat and vacuum seals to eliminate bacteria. Water bath canning is ideal for high-acid foods like jams and pickles, while pressure canning is necessary for low-acid foods such as meats and vegetables. Our Beginner’s Guide to Canning teach tested recipes and proper techniques ensures food safety and long-lasting emergency food storage.
Key Takeaways
- Home canning uses heat and a vacuum seal to eliminate harmful bacteria and preserve food for 1 to 5 years without refrigeration.
- Two methods exist: water bath canning (for high-acid foods like jams and tomatoes) and pressure canning (for low-acid foods like meat, beans, and vegetables).
- A basic starter kit costs between $50 and $150, making canning one of the most affordable long-term food storage strategies available.
- Botulism is the primary safety risk, but it is entirely preventable by following tested USDA recipes and using the correct canning method for each food type.
- Canning lids should not be reused for processing, but glass jars can be reused indefinitely if they are free of chips and cracks.
- Properly stored home-canned food retains peak quality for 1 to 2 years and remains safe to eat beyond that if the seal is intact and there are no signs of spoilage.
- Beginners should start with high-acid foods like strawberry jam, salsa, or pickles before moving on to pressure canning.
- A well-stocked home canning pantry is a cornerstone of any serious emergency preparedness plan.
What Is Canning and How Does It Work?
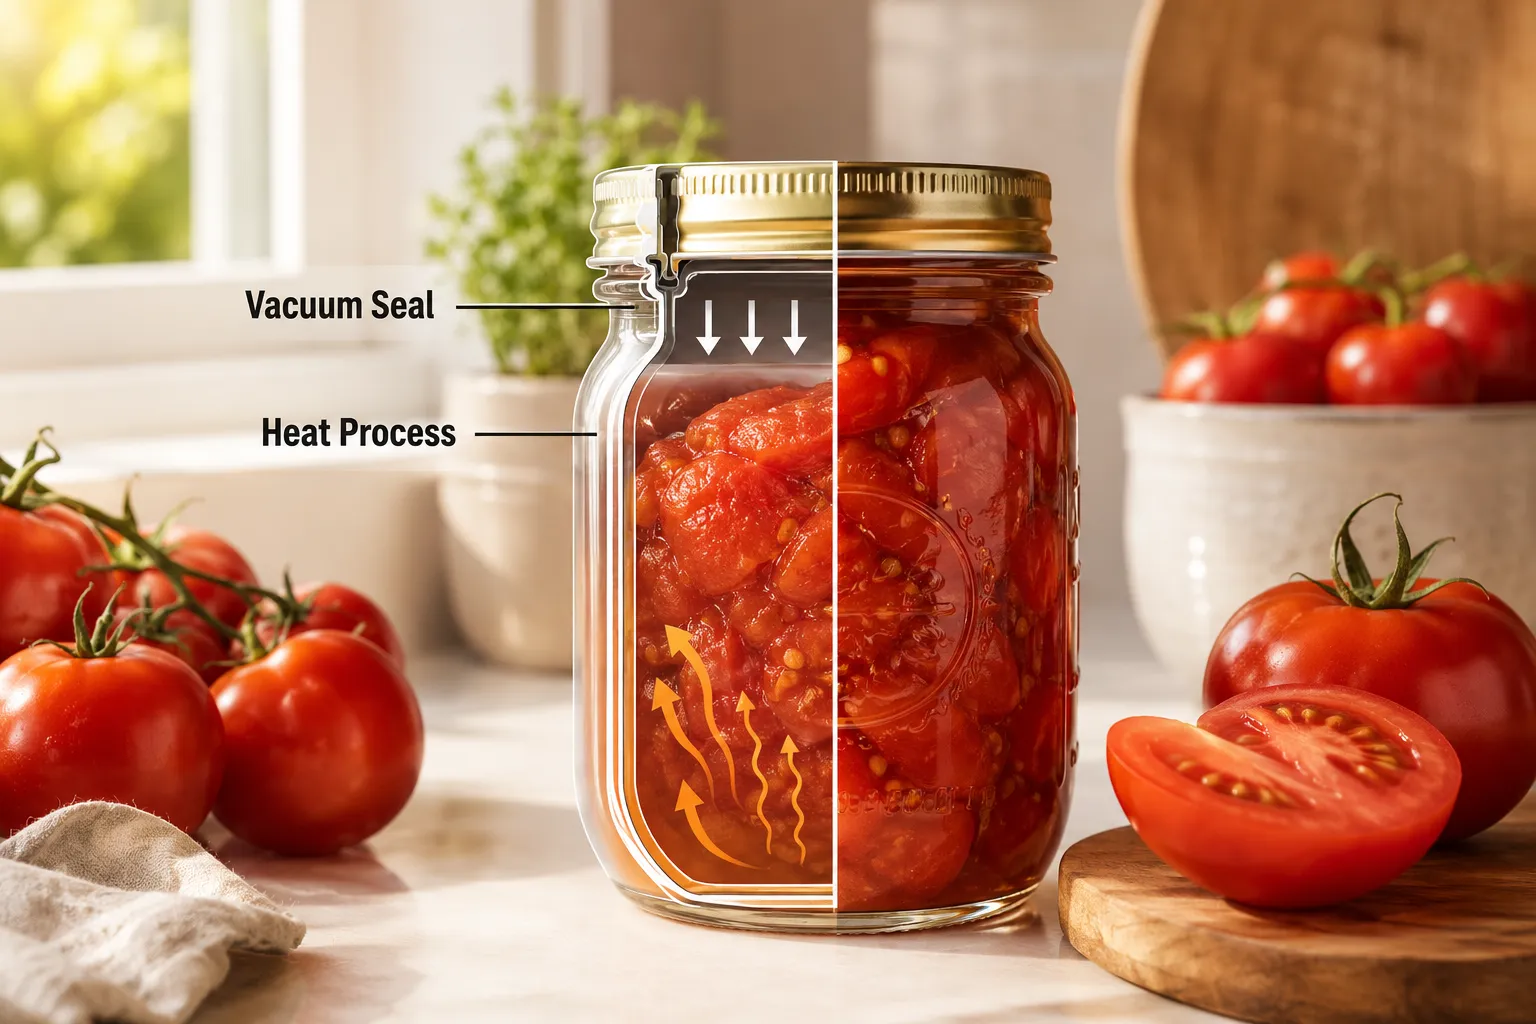
Canning is a food preservation method that uses heat to destroy microorganisms and creates an airtight vacuum seal to prevent recontamination. The result is shelf-stable food that requires no refrigeration and can sustain a household through power outages, supply chain disruptions, or long-term emergencies.
The science is straightforward. When filled jars are heated to a specific temperature for a specific time, the heat kills bacteria, molds, and yeasts inside the jar. As the jar cools, the contents contract and pull the lid down, forming a vacuum seal that locks out air and new contaminants. No oxygen means no spoilage organisms can grow.
This process was developed in the early 19th century and has been refined over two centuries into the safe, tested system used today. For preppers and survivalists, this beginner’s guide to canning covers everything needed to turn a garden harvest or a bulk grocery run into a reliable, long-term food supply.
What’s the Difference Between Water Bath Canning and Pressure Canning?
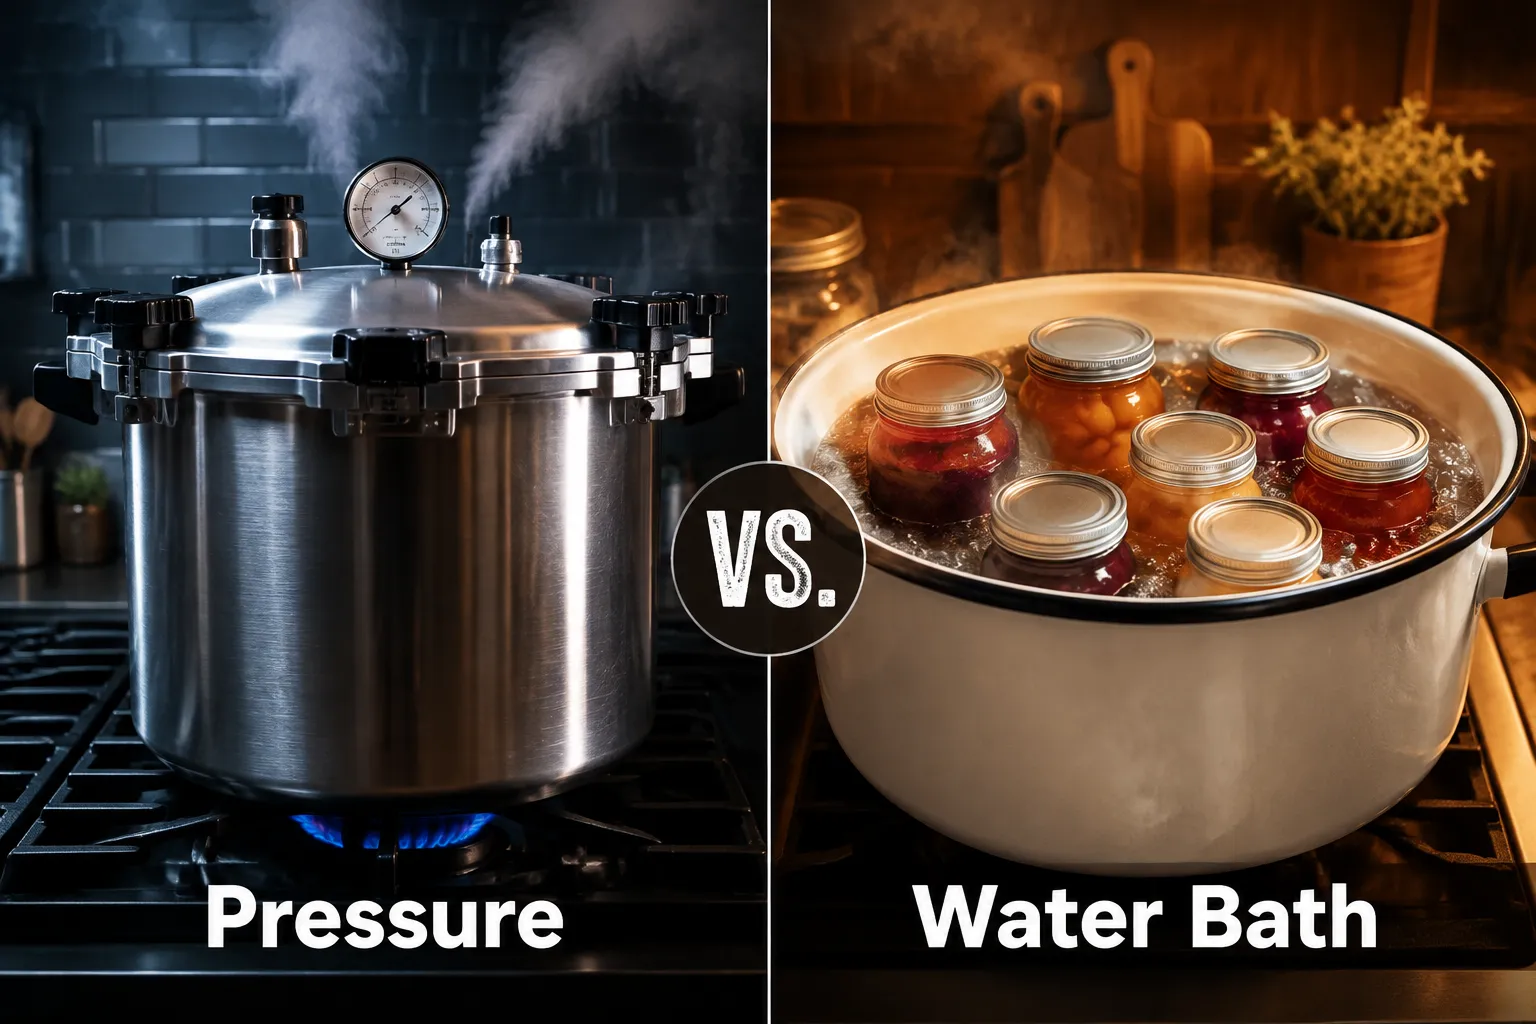
The method you use depends entirely on the acidity of the food you’re preserving. Water bath canning works for high-acid foods (pH 4.6 or below), while pressure canning is required for low-acid foods.
Water bath canning submerges sealed jars in boiling water (212°F / 100°C). The boiling temperature is sufficient to destroy molds, yeasts, and most bacteria in high-acid environments. It’s the right choice for:
- Jams, jellies, and preserves
- Pickles and relishes
- Tomatoes (with added lemon juice or citric acid)
- Fruit and fruit juices
- Salsa (tested recipes only)
Pressure canning uses a specialized pot that builds steam pressure to reach 240°F (116°C), temperatures that boiling water alone cannot achieve. This higher heat is the only way to destroy Clostridium botulinum spores in low-acid environments. Pressure canning is required for:
- Meats and poultry
- Fish and seafood
- Vegetables (green beans, corn, carrots, potatoes)
- Beans and legumes
- Soups and stews
Common mistake: Using a water bath canner for low-acid foods is one of the most dangerous errors a beginner can make. It will not reach the temperature needed to eliminate botulism spores, regardless of how long the jars are processed.
Do You Need Special Equipment to Start Canning at Home?
Yes, but the investment is modest. A functional canning setup requires only a handful of items, most of which last for decades with basic care.
For water bath canning:
- A large stockpot with a rack (or a dedicated water bath canner)
- Glass canning jars (Ball or Kerr are the most widely available brands)
- New two-piece lids (flat lid plus screw band)
- Jar lifter
- Wide-mouth funnel
- Bubble remover or thin spatula
- Clean cloths
For pressure canning, add:
- A dedicated pressure canner with a dial or weighted gauge (Presto and All American are reliable brands)
- A pressure canner is not the same as a pressure cooker, do not substitute one for the other
The total startup cost for a water bath setup runs roughly $30 to $60. A quality pressure canner adds another $80 to $150. Many preppers start with water bath canning and add a pressure canner once they’ve mastered the basics.
Can You Can Without a Pressure Canner?
You can preserve high-acid foods without a pressure canner using the water bath method. However, you cannot safely can meat, most vegetables, or any low-acid food without one.
Some older methods, like open-kettle canning or oven canning, are still circulated online. The USDA and the National Center for Home Food Preservation have both condemned these methods as unsafe. They do not reliably achieve or maintain the temperatures needed for safe preservation.
If a pressure canner isn’t in the budget yet, focus on water bath canning for now. Jams, pickles, and tomato-based sauces are genuinely useful emergency foods and a smart starting point for any beginner’s guide to canning.
What Foods Are Easiest to Can for Beginners?
Start with high-acid foods that are forgiving, widely tested, and genuinely useful in a long-term food storage plan.
Best beginner foods:
| Food | Method | Processing Time (approximate) |
|---|---|---|
| Strawberry jam | Water bath | 10 minutes |
| Dill pickles | Water bath | 10-15 minutes |
| Salsa (tested recipe) | Water bath | 15 minutes |
| Tomatoes (crushed) | Water bath | 35-45 minutes |
| Applesauce | Water bath | 15-20 minutes |
| Green beans | Pressure canner | 20-25 minutes |
| Chicken broth | Pressure canner | 20-25 minutes |
Once comfortable with jam and pickles, move to tomatoes, then graduate to pressure canning with green beans or chicken broth. That progression builds confidence and covers a broad nutritional base for emergency food storage.
Is Canning Safe, and Can You Get Botulism?
Home canning is safe when tested recipes and correct methods are followed. The risk of botulism is real but entirely preventable.
Clostridium botulinum spores are naturally present in soil and can contaminate vegetables and meats. In a low-acid, oxygen-free environment (exactly what a sealed jar provides), those spores can germinate and produce a toxin that is extremely dangerous. This is why pressure canning exists, the 240°F temperature destroys the spores before they can cause harm.
To stay safe:
- Always use USDA-tested recipes from sources like the Ball Complete Book of Home Preserving or the National Center for Home Food Preservation website.
- Never alter ingredient ratios in tested recipes, especially acid levels.
- Use pressure canning for all low-acid foods without exception.
- Inspect seals before consuming any home-canned product.
The botulism risk is not a reason to avoid canning. It is a reason to follow instructions precisely.
Do You Need to Sterilize Jars Before Canning?
For most modern canning processes, pre-sterilization of jars is not required, but jars must be clean and hot before filling.
According to USDA guidelines, jars processed for 10 minutes or more in a boiling water bath or pressure canner do not need to be pre-sterilized. The processing time itself handles sterilization. However, jars should always be washed in hot soapy water or run through a dishwasher and kept warm until filled to prevent thermal shock.
For recipes with processing times under 10 minutes (some jellies, for example), jars should be sterilized by boiling them for 10 minutes before filling.
Edge case: If you’re at an altitude above 1,000 feet, processing times and pressure levels must be adjusted. Altitude affects boiling point, which affects the safety of your finished product. The Ball website and USDA guides include altitude adjustment charts.
Can You Reuse Canning Jars and Lids?
Glass canning jars can be reused indefinitely, provided they are free of chips, cracks, or nicks on the rim. Inspect every jar before use. A damaged rim will not seal reliably.
Lids (the flat metal discs) are designed for single-use processing. The sealing compound on the underside compresses during processing and cannot be counted on to seal a second time. Screw bands (the rings) can be reused as long as they are not rusted or bent.
One exception: Tattler reusable lids are specifically designed for multiple uses and are a popular choice among serious preppers looking to reduce ongoing costs. They require a slightly different technique but work well with practice.
How Long Does Canned Food Actually Last?
Home-canned food is generally considered safe to eat indefinitely as long as the seal is intact and there are no signs of spoilage. However, quality degrades over time.
The USDA recommends consuming home-canned food within 1 to 2 years for best flavor, texture, and nutritional value. Beyond that, food may still be safe but can become mushy, discolored, or bland. For emergency preparedness purposes, rotating stock annually ensures the pantry always contains food at peak quality.
Factors that affect shelf life:
- Storage temperature (cooler is better, aim for 50-70°F)
- Light exposure (dark storage extends life significantly)
- Humidity (dry conditions prevent rust on lids and bands)
- Jar seal integrity
How Do You Know When Canned Food Has Gone Bad?
Never taste-test canned food to determine if it’s safe. Visual and sensory inspection is the first line of defense.
Discard any jar that shows:
- A broken or unsealed lid (the center button should be concave and firm, not flexing up and down)
- Spurting liquid when opened
- Foam, bubbles, or unusual cloudiness inside the jar
- Off odors (sour, fermented, or “off” smells that don’t match the food)
- Visible mold
- A lid that was bulging before opening
When in doubt, throw it out. The cost of a jar of food is not worth the risk of foodborne illness during an emergency when medical care may be limited.
What Are the Most Common Canning Mistakes Beginners Make?
Most canning failures come down to a handful of preventable errors.
Top mistakes and how to avoid them:
- Using untested recipes: Social media is full of canning recipes that have never been tested for safety. Stick to USDA-approved or Ball-tested recipes until you fully understand the science.
- Skipping headspace: Headspace (the empty space between the food and the lid) is critical. Too little causes food to expand and break the seal. Too much leaves excess air that can affect seal quality. Most recipes specify 1/4 to 1 inch of headspace.
- Not removing air bubbles: Trapped air bubbles can affect headspace measurement and seal quality. Run a bubble remover or thin spatula around the inside of the jar before wiping the rim.
- Wiping the rim with a dirty cloth: Any food residue on the jar rim will prevent a proper seal. Use a clean, damp cloth or paper towel.
- Rushing the cooling process: Never force-cool jars. Let them sit undisturbed on a towel for 12 to 24 hours. Moving or pressing the lids during cooling can break the seal.
- Using the wrong method for the food: This is the safety-critical mistake. Water bath for low-acid foods is not a shortcut, it is a hazard.
How Much Does It Cost to Get Started With Canning?
Getting started with canning is genuinely affordable, especially compared to buying commercial freeze-dried or dehydrated emergency food.
Estimated startup costs:
- Water bath canner (or large stockpot): $20 to $40
- Jar lifter, funnel, and tool kit: $10 to $20
- 12-pack of quart mason jars with lids: $12 to $18
- Ball Complete Book of Home Preserving (reference guide): $15 to $20
- Water bath total: approximately $57 to $98
Adding a pressure canner:
- Presto 23-quart pressure canner: approximately $90 to $110
- All American 21.5-quart (no-gasket design, extremely durable): approximately $200 to $250
- Full setup total: approximately $150 to $350
After the initial investment, ongoing costs are limited to new lids (roughly $3 to $5 per dozen) and the food itself. Buying produce in bulk during peak season dramatically reduces the per-jar cost of your pantry.
What’s the Best Way to Store Canned Goods Long Term?
The ideal storage environment for home-canned goods is cool, dark, and dry. A basement, root cellar, or interior closet works well. Avoid garages, attics, or any space with extreme temperature swings.
Best practices for long-term storage:
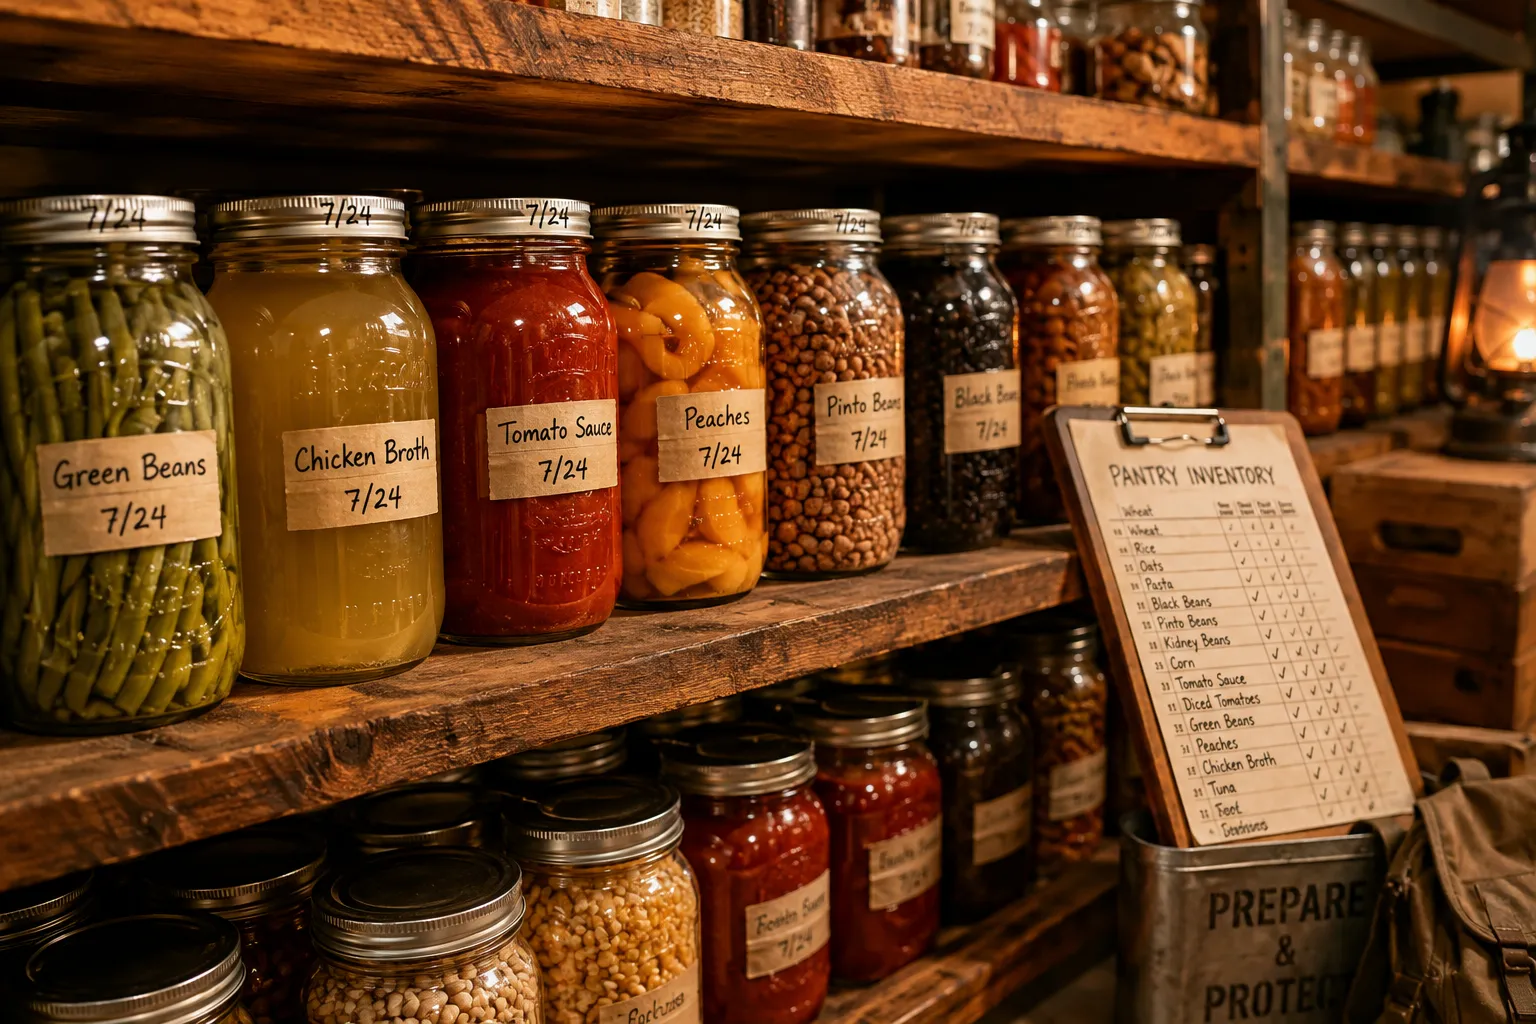
- Remove screw bands before storing to prevent rust from masking a failed seal
- Label every jar with contents and date before storing
- Store jars in a single layer when possible, stacking increases the risk of seal damage
- Rotate stock using a first-in, first-out system
- Conduct a visual inspection of your entire pantry at least twice a year
For preppers building a serious emergency food supply, canned goods pair well with other storage methods. Freeze-dried foods offer 25-year shelf life for certain items, while home-canned goods provide the flexibility to preserve exactly what your family eats. A layered approach to food storage is always more resilient than relying on any single method.
Frequently Asked Questions
Do I need a special stove for canning?
Most standard gas and electric stoves work fine for water bath canning. For pressure canning, check the manufacturer’s instructions, some smooth-top electric ranges are not recommended for heavy pressure canners due to the weight and heat concentration. A propane camp stove is a practical backup option for preppers.
Can I use any glass jar for canning, like a recycled pasta sauce jar?
No. Commercial food jars are not designed to withstand the repeated thermal stress of home canning. They can crack or fail to seal properly. Use only jars specifically manufactured for home canning, such as Ball, Kerr, or Bernardin.
What’s the difference between a pressure canner and a pressure cooker?
A pressure cooker is designed for fast cooking, not for maintaining precise, sustained pressure over long processing times. Pressure canners are larger, built to hold multiple jars, and calibrated for safe food preservation. Do not substitute one for the other.
How do I know if my pressure canner gauge is accurate?
Dial gauges should be tested annually at your local cooperative extension office, which typically offers this service for free. Weighted gauges do not require testing, they are inherently accurate.
Can I can butter, bread, or flour-based products?
No. There are no USDA-tested recipes for canning butter, dairy products, or flour-based foods. These products circulate online frequently, but they have not been validated for safety and should be avoided.
What if a jar doesn’t seal after processing?
If a jar fails to seal within 24 hours of processing, refrigerate it and use the contents within a few days, or reprocess it with a new lid within 24 hours. Do not store unsealed jars on the shelf.
Is canning worth it if I can just buy canned goods at the store?
For preppers, the value goes beyond cost. Home canning lets you control ingredients, portion sizes, and exactly what goes into your emergency supply. You can preserve what your family actually eats, reduce sodium and additives, and build a pantry that reflects your real dietary needs, not whatever was on sale at the grocery store.
How many jars should I aim for in my emergency pantry?
A reasonable starting goal is a 3-month supply. For a family of four, that’s roughly 90 to 120 quart jars of various foods. Build gradually, even 12 jars is a meaningful start.
Conclusion
Canning is one of the most practical, cost-effective skills any prepper or survivalist can develop. It transforms seasonal abundance into year-round security. It reduces dependence on grocery stores, supply chains, and refrigeration. And it gives you something that no commercial product can fully replicate: a pantry built on your own terms, stocked with food your family will actually eat.
This beginner’s guide to canning is a starting point, not a ceiling. Begin with a batch of strawberry jam or a dozen jars of dill pickles. Learn the rhythm of the process. Then expand into tomatoes, salsas, and eventually pressure-canned meats and vegetables. Each skill layer you add makes your household more resilient.
Actionable next steps:
- Purchase a basic water bath canning kit and a 12-pack of quart mason jars.
- Pick up the Ball Complete Book of Home Preserving, it contains hundreds of tested recipes and is the single most useful reference for beginners.
- Choose one simple recipe (strawberry jam or dill pickles) and complete your first batch within the next two weeks.
- Once comfortable, add a pressure canner to your setup and begin building a protein-rich emergency pantry with canned chicken, beans, and broth.
- Inventory your pantry quarterly and rotate stock consistently.
The skills you build now are the ones that matter when the unexpected happens. Start small, stay safe, and keep building.
Products, Tools, and Resources
Ball Complete Book of Home Preserving, The gold-standard reference for tested canning recipes. Available at most bookstores and online retailers. Every serious canner should own a copy.
Presto 23-Quart Pressure Canner, A reliable, widely available pressure canner with a dial gauge. Well-suited for beginners and experienced canners alike. Replacement gaskets and parts are easy to source.
All American 21.5-Quart Pressure Canner, A premium, metal-to-metal seal canner with no gasket to replace. Built to last a lifetime. The preferred choice for preppers who want a one-time investment.
Ball Mason Jars (Wide Mouth, Quart), The most widely available and trusted canning jar brand. Wide-mouth jars are easier to fill and clean than regular-mouth jars.
Tattler Reusable Canning Lids, BPA-free lids designed for multiple uses. A smart long-term investment for preppers who want to reduce ongoing supply costs.
National Center for Home Food Preservation (nchfp.uga.edu), Free, USDA-backed canning guides, tested recipes, and altitude adjustment charts. The most authoritative free resource available online.
Ball Canning Discovery Kit, Includes a jar lifter, wide-mouth funnel, bubble remover, and lid wand. Everything a beginner needs to get started in one affordable package.
References
- National Center for Home Food Preservation, University of Georgia. (2015). USDA Complete Guide to Home Canning. https://nchfp.uga.edu/publications/publications_usda.html
- United States Department of Agriculture. (2009). Complete Guide to Home Canning (Agriculture Information Bulletin No. 539). USDA National Institute of Food and Agriculture.
- Ball / Newell Brands. (2020). Ball Complete Book of Home Preserving. Robert Rose Inc.
- Centers for Disease Control and Prevention. (2021). Botulism: Prevention. https://www.cdc.gov/botulism/prevention.html
- So Easy to Preserve. (2014). So Easy to Preserve (6th ed.). University of Georgia Cooperative Extension.
Tags: home canning, food preservation, emergency food storage, pressure canning, water bath canning, prepper pantry, canning for beginners, long-term food storage, survival food, mason jars, botulism prevention, self-reliance